

Learn through the super-clean Baeldung Pro experience:
>> Membership and Baeldung Pro.
No ads, dark-mode and 6 months free of IntelliJ Idea Ultimate to start with.
Last updated: July 7, 2025
Learn through the super-clean Baeldung Pro experience:
>> Membership and Baeldung Pro.
No ads, dark-mode and 6 months free of IntelliJ Idea Ultimate to start with.
Running multiple containers from the same Docker image is a common practice. However, the challenge comes when each container needs a different configuration. Rebuilding the image for every variation is wasteful and goes against the idea of portability.
In this tutorial, we’ll demonstrate three practical ways to handle that. We’ll learn how to manage multiple containers with the same image while giving each one its own configuration. These methods mirror common scenarios DevOps and backend teams encounter when managing microservices or deploying services across different environments.
All examples in this tutorial were tested with Docker v27.
We’ll consider three methods for managing multiple containers with the same image but different configurations.
Before we proceed, we need a simple project to work with.
The demo project we’ll be working with contains a simple Express server that prints its configuration when it starts and displays it in the browser. The server can read values from environment variables or a mounted JSON file, depending on how we run the container.
To get started, we need to clone the project:
$ git clone https://github.com/Baeldung/ops-tutorials/Next, we navigate to the root directory:
$ cd docker-modules/managing-multiple-docker-containers-same-image-different-configsThis folder contains everything we need:
Now that we’ve set up our demo project, let’s take a look at the different methods for managing multiple containers with the same image but having different configurations.
In this method, we’ll pass environment variables when we run each container. This works well for simple configurations where we only need to set a few values like the service name, environment, or log level.
Inside the index.js file located in the app directory, we can see how the application reads configuration values from the environment:
let config = {
    SERVICE_NAME: process.env.SERVICE_NAME || "default-service",
    ENVIRONMENT: process.env.ENVIRONMENT || "development",
    LOG_LEVEL: process.env.LOG_LEVEL || "info",
    PORT: process.env.PORT || 3000,
};
These values control how the app behaves when it starts. We can override them by passing new values directly into the container at runtime.
First, let’s build the image:
$ docker build -t config-demo .Next, we’ll run two containers from this same image. Each one will receive different environment variables.
Let’s run the first container:
$ docker run -d \
  --name billing_service \
  -e SERVICE_NAME=billing-service \
  -e ENVIRONMENT=staging \
  -e LOG_LEVEL=debug \
  -e PORT=3001 \
  -p 3001:3001 \
  config-demo
Then, we run the second container:
$ docker run -d \
  --name user_service \
  -e SERVICE_NAME=user-service \
  -e ENVIRONMENT=production \
  -e LOG_LEVEL=info \
  -e PORT=3002 \
  -p 3002:3002 \
  config-demo
Both containers are using the same image, but each one is configured differently.
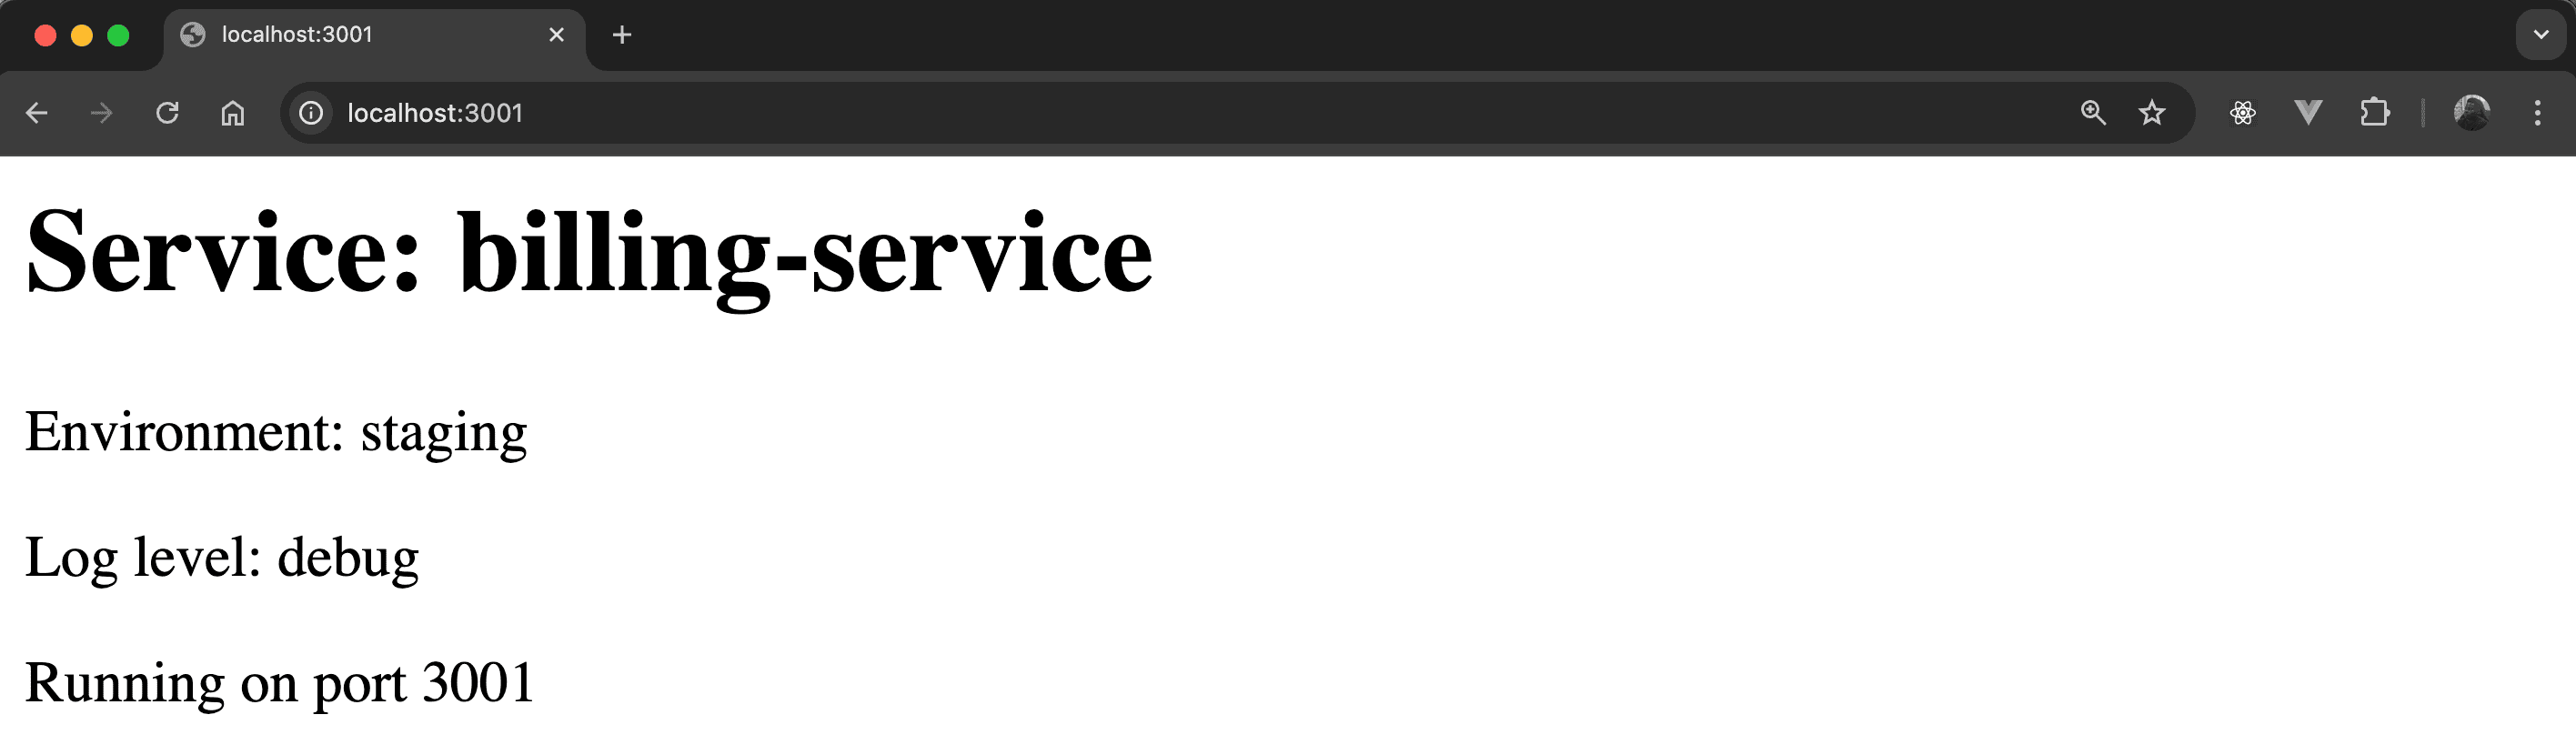
We can open each app in the browser to see the result:
The first URL, http://localhost:3001, should display a page showing environment variables from the first container:
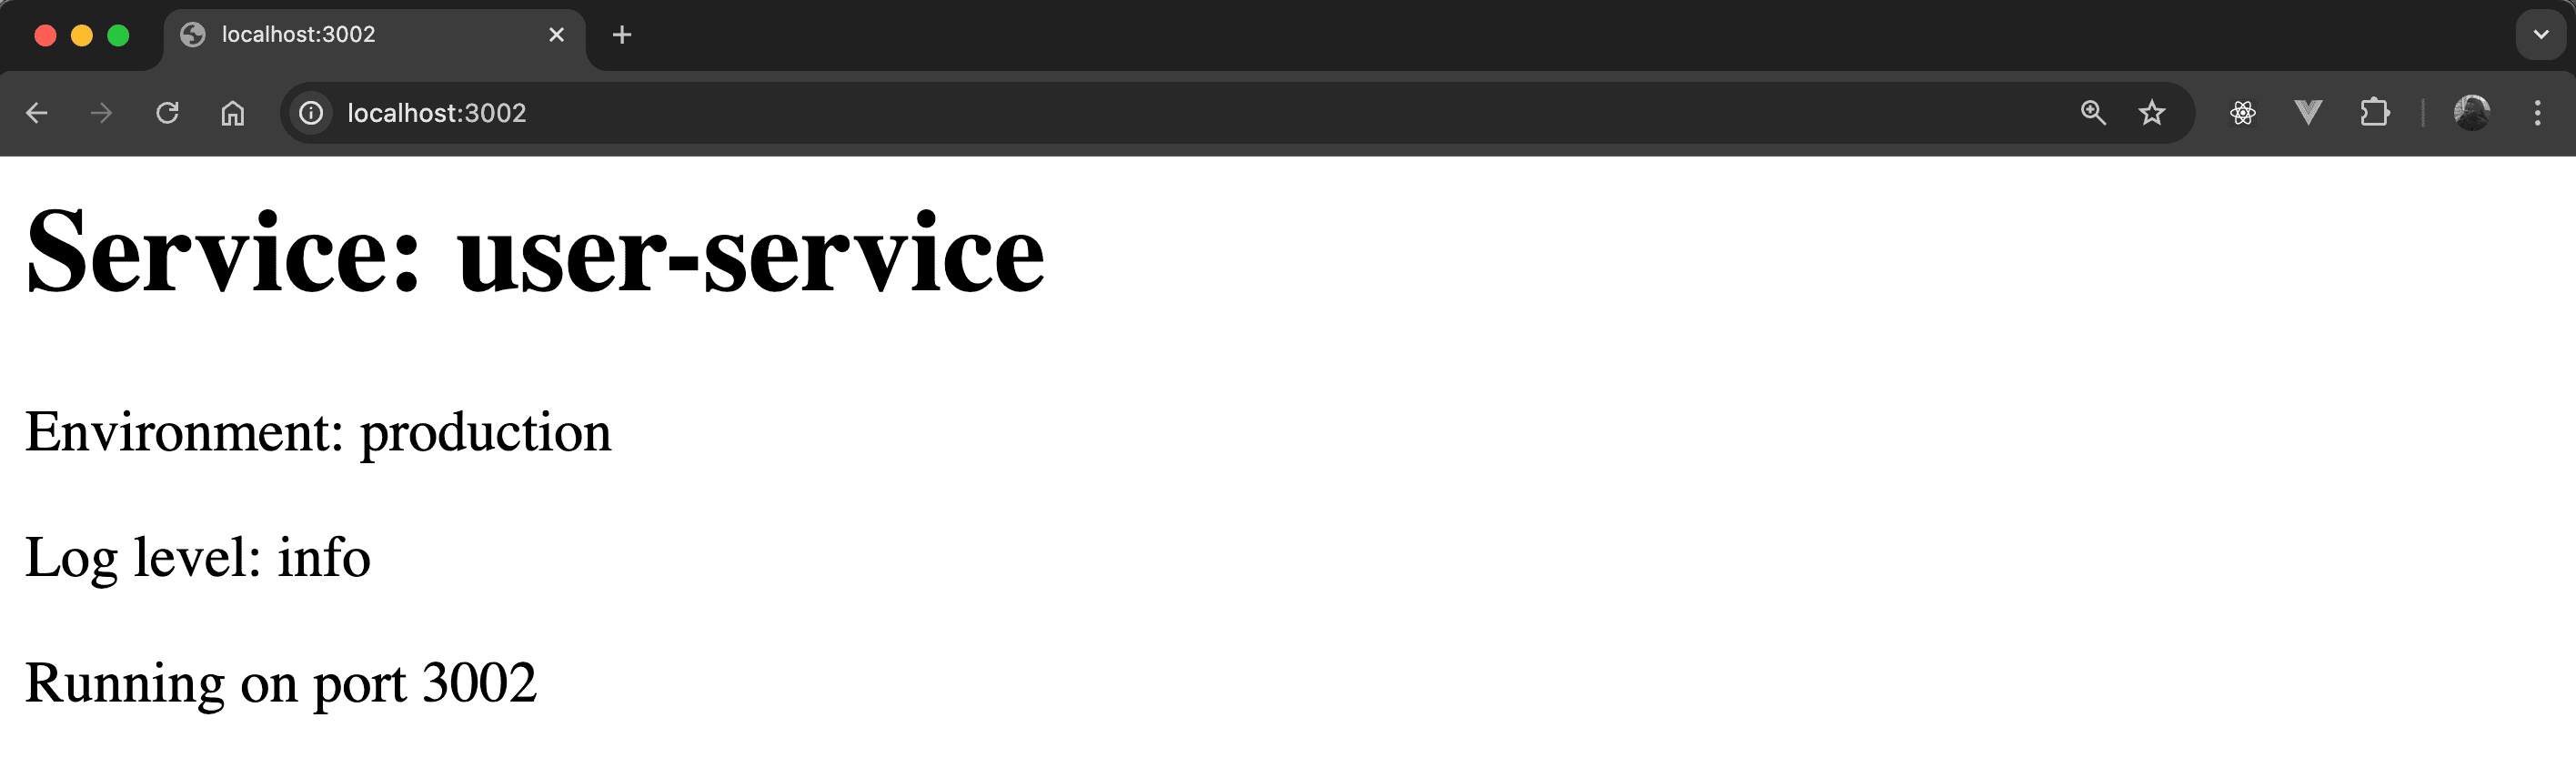
Likewise, the second URL, http://localhost:3002, should display a page showing environment variables from the second container:
This method is fast and flexible, and it works well when the configuration is simple. However, as the number of values grows, it becomes harder to manage. That’s where Docker Compose helps streamline things.
This method uses Docker Compose to define and run multiple containers from a single file. This gives us a clean, structured way to reuse the same image while assigning each container its configuration.
Now, we can open the docker-compose.env.yml file in the project’s root directory. It defines two services built from the same Dockerfile, each with a different set of environment variables:
services:
  audit_logger:
    build:
      context: .
      dockerfile: Dockerfile
    container_name: audit_logger
    environment:
      - SERVICE_NAME=audit-logger
      - ENVIRONMENT=qa
      - LOG_LEVEL=warn
      - PORT=3003
    ports:
      - "3003:3003"

  report_engine:
    build:
      context: .
      dockerfile: Dockerfile
    container_name: report_engine
    environment:
      - SERVICE_NAME=report-engine
      - ENVIRONMENT=dev
      - LOG_LEVEL=error
      - PORT=3004
    ports:
      - "3004:3004"
Each service runs from the same image, but the environment values give them a unique identity. This approach avoids repeating long docker run commands while keeping everything version-controlled.
Let’s start the setup by running docker compose:
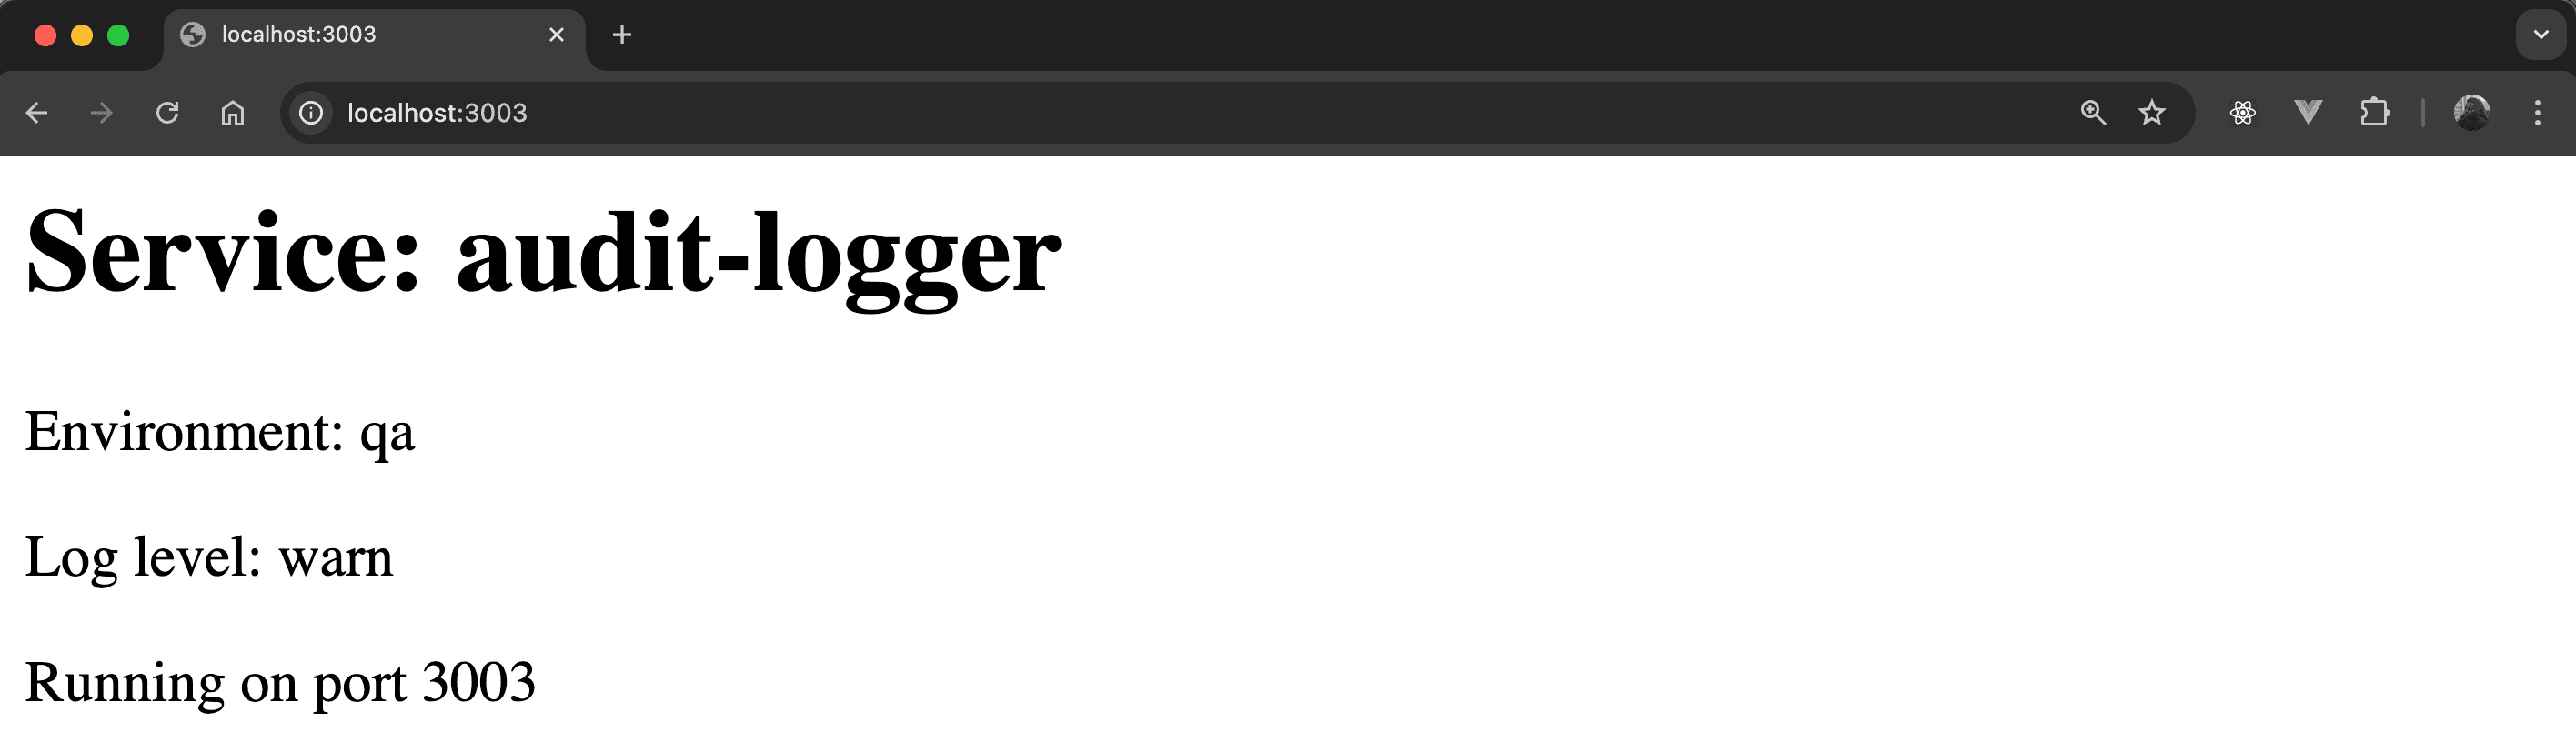
$ docker compose -f docker-compose.env.yml up --build -dOnce both containers are running, we can verify the result in the browser. Let’s navigate to the URL http://localhost:3003:
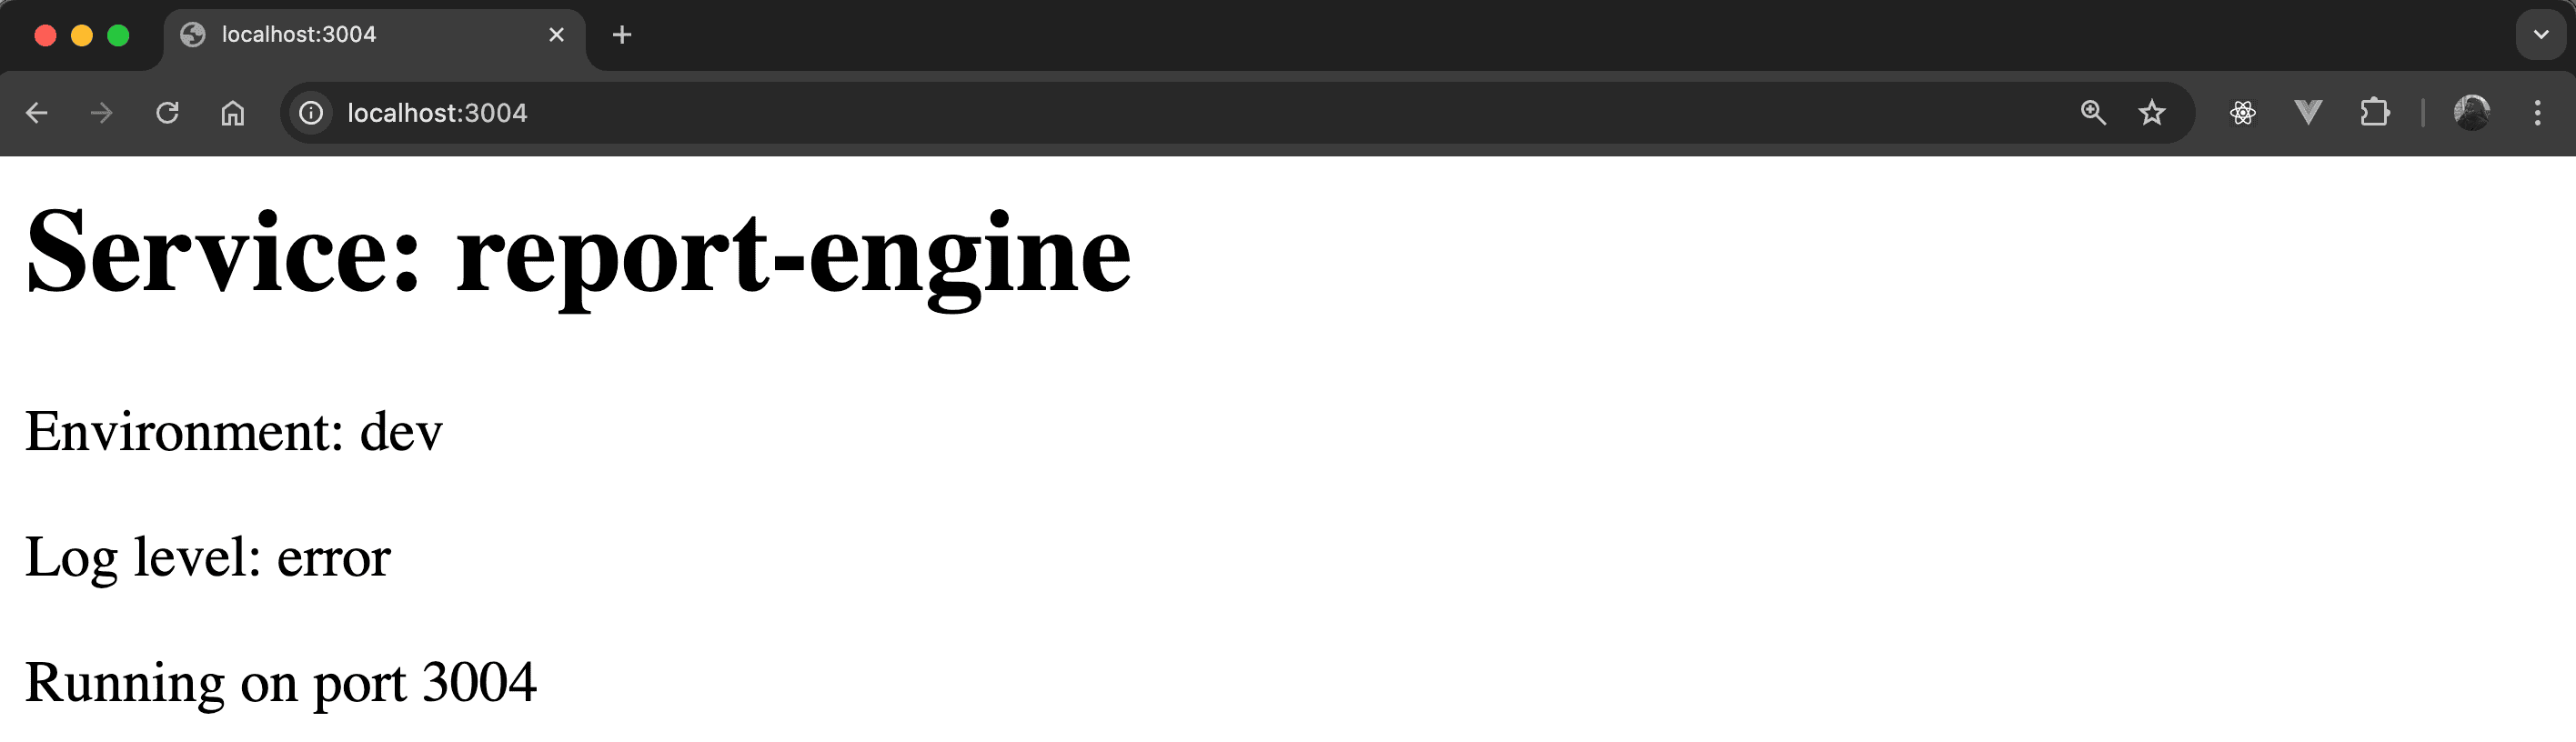
Similarly, visiting http://localhost:3004 should display:
Each container runs with its own config, yet they’re built from the same Dockerfile. Docker Compose makes this setup much easier to manage, extend, and reproduce.
When our configuration becomes more complex, it can be helpful to use external config files instead of long lists of environment variables. This method enables us to inject those files into containers using Docker volumes.
Now, we can open the docker-compose.file.yml file in the project’s root directory. It defines two services built from the same Dockerfile, each mounting a different config file and pointing to it using the CONFIG_PATH environment variable:
services:
  analytics_processor:
    build:
      context: .
      dockerfile: Dockerfile
    container_name: analytics_processor
    environment:
      - CONFIG_PATH=/app/config.json
    volumes:
      - ./config/analytics-config.json:/app/config.json
    ports:
      - "3005:3005"

  notification_worker:
    build:
      context: .
      dockerfile: Dockerfile
    container_name: notification_worker
    environment:
      - CONFIG_PATH=/app/config.json
    volumes:
      - ./config/notification-config.json:/app/config.json
    ports:
      - "3006:3006"
Each service mounts a different file to the same location inside the container: /app/config.json. On startup, the app reads the config using the logic in index.js:
if (process.env.CONFIG_PATH) {
    try {
        const configPath = path.resolve(process.env.CONFIG_PATH);
        const fileContent = fs.readFileSync(configPath, "utf-8");
        const fileConfig = JSON.parse(fileContent);
        config = { ...config, ...fileConfig };
        console.log(`[INFO] Loaded config from ${configPath}`);
    } catch (err) {
        console.error(
            `[ERROR] Failed to load config from ${process.env.CONFIG_PATH}:`,
            err.message
        );
    }
}
Now, we run the setup:
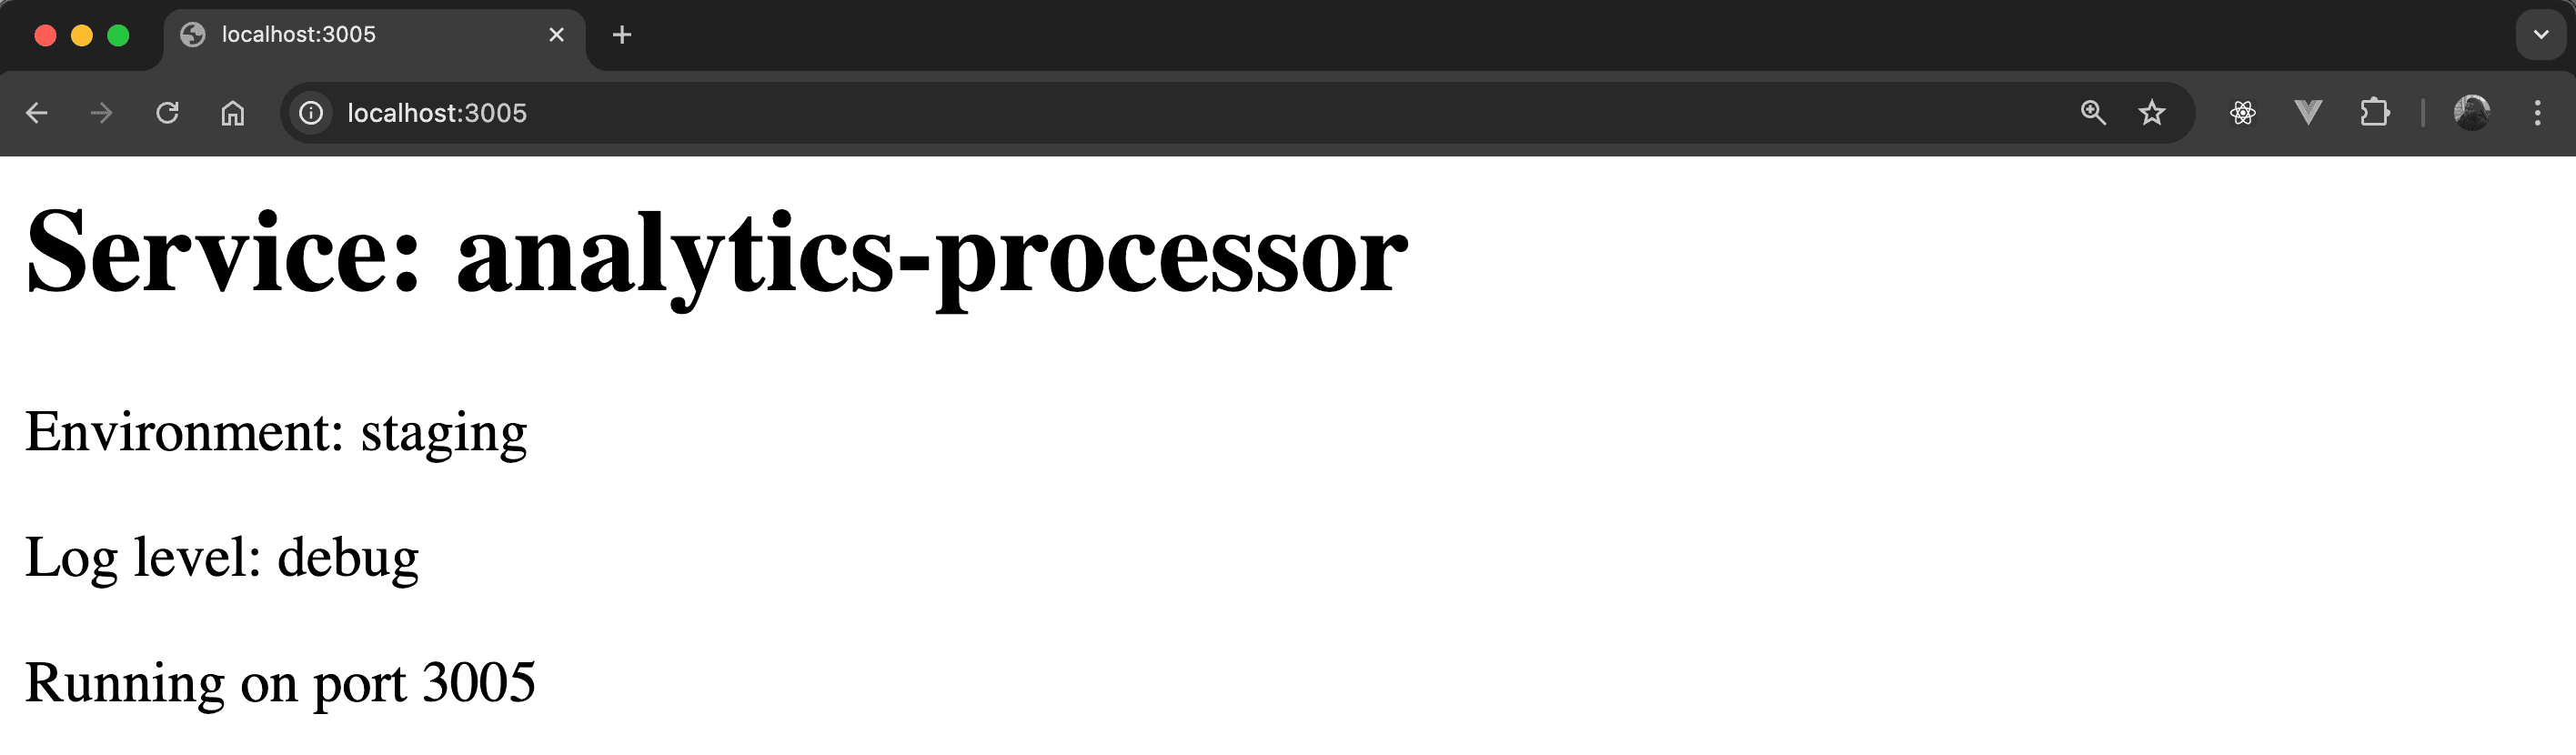
$ docker compose -f docker-compose.file.yml up --build -dWith this, we can open each app in the browser. So, let’s navigate to the URL http://localhost:3005:
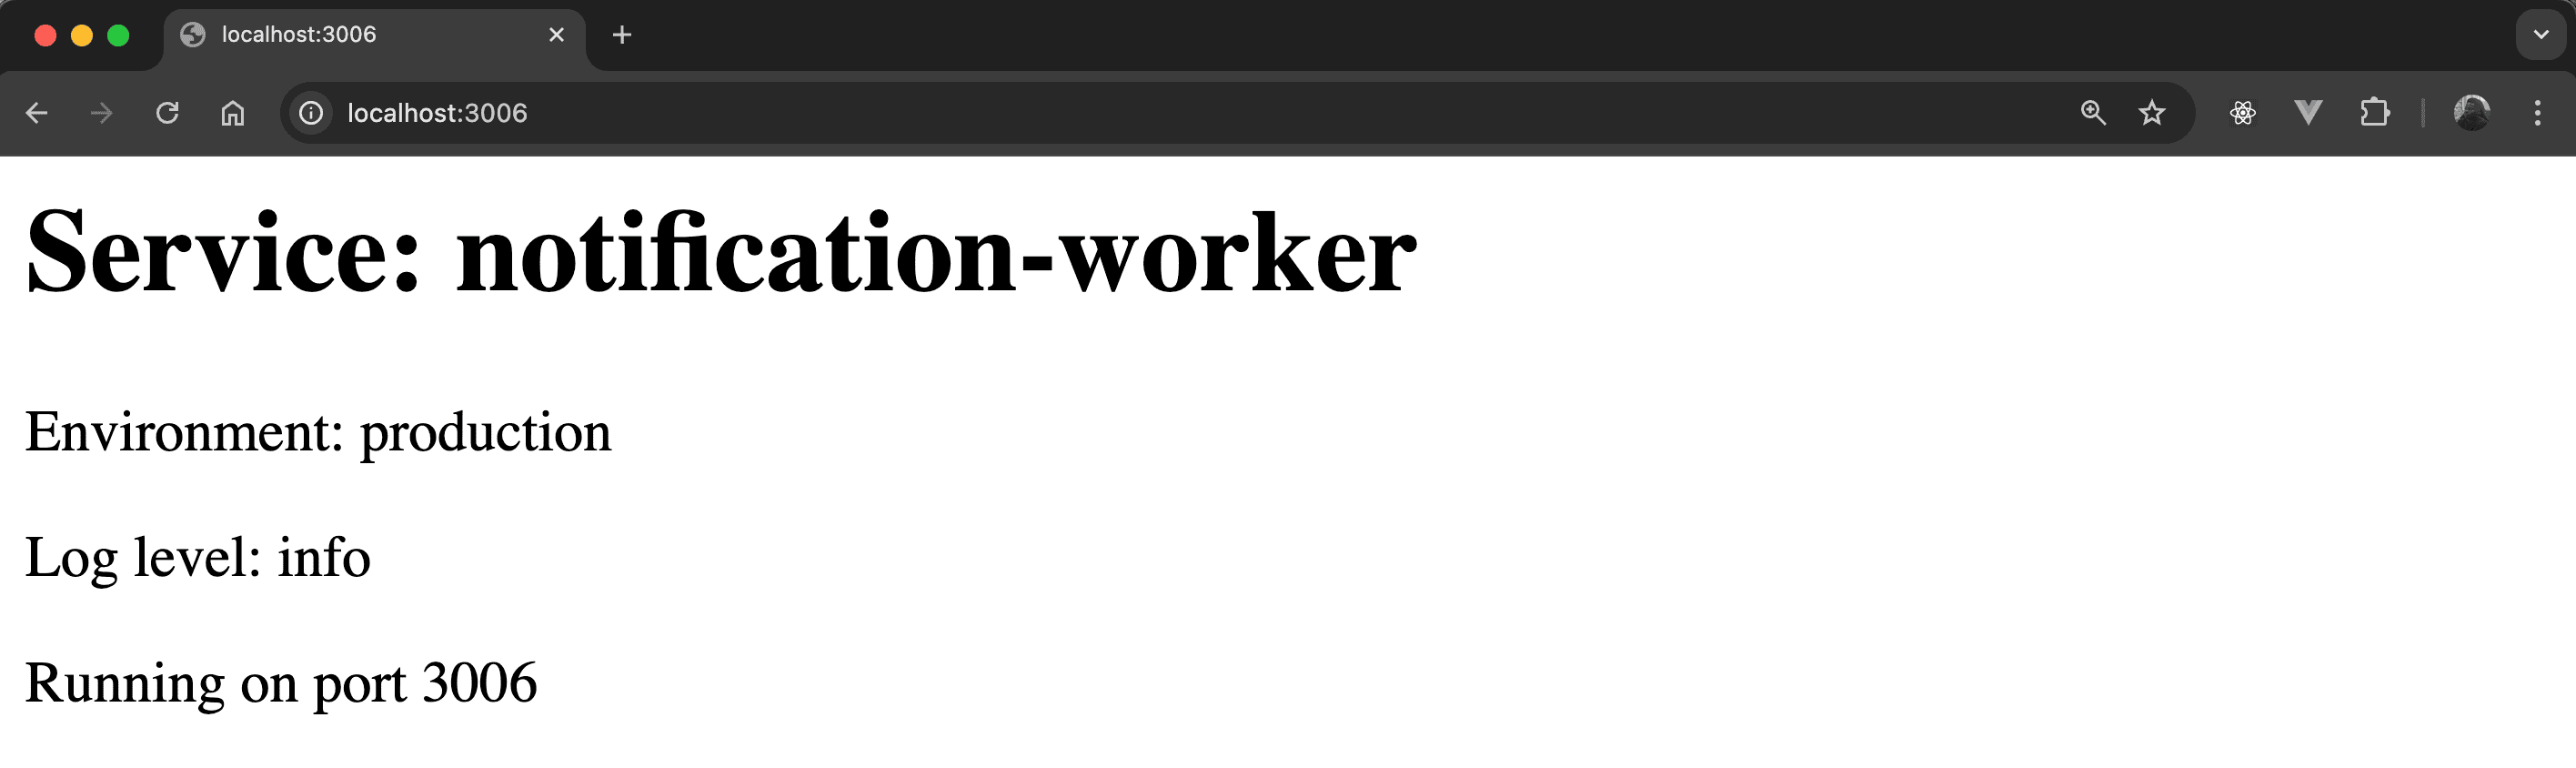
Also, let’s visit http://localhost:3006:
This method gives us full control over how we structure and manage configurations. It works well, particularly when settings are complex, grouped, or shared across environments.
So far, we’ve seen three practical methods for giving containers their own configuration without rebuilding the image. Each one offers a different level of structure and flexibility, depending on how dynamic or scalable the setup needs to be.
So, when should we use each one, and what factors should we consider?
The docker run method is best suited for quick tests or isolated use cases.
It enables us to override configuration values at runtime without modifying the image or introducing extra files. This approach is lightweight and straightforward, making it ideal for simple or one-off setups. It works well when we only need to adjust a few values, like the port or environment.
However, as the number of containers or configuration parameters grows, it can quickly become repetitive and prone to error. Manual commands don’t scale well, and mistakes in environment variables can go unnoticed until runtime.
This approach builds upon the flexibility of environment variables while adding structure through Docker Compose.
By defining services in a YAML file, we gain a clearer and more maintainable setup. It becomes easier to manage multiple containers consistently, without relying on long or duplicated docker run commands.
It’s a suitable option for local development, integration testing, or any setup that benefits from clear orchestration without introducing configuration files. This method keeps things simple while avoiding the chaos of managing many individual commands.
However, this approach still suffers from the limitations of flat, unstructured data. Complex configurations can become unwieldy and harder to validate or reuse across environments.
For setups that require a more detailed or structured configuration, mounting external files is the most effective method.
This method enables us to keep settings in version-controlled files, separate from the container logic. We can define more complex configurations, such as JSON or YAML, and switch between them easily across environments. It also allows for clear separation between code and environment-specific settings, which improves transparency and makes auditing easier.
This approach is commonly used in production scenarios, where configuration needs to be more transparent, maintainable, and easy to update without rebuilding the image.
The method also aligns well with best practices in CI/CD pipelines and Infrastructure-as-Code.
In this article, we explored three ways to run multiple containers from the same Docker image with different configurations: using docker run with environment variables, defining multiple services in Docker Compose, and mounting external config files.
Each method offers a different balance between simplicity and flexibility. Choosing the right one depends on the complexity of the configuration and how we plan to manage the containers over time.