
1. Overview
URL Authorization allows us to control access to our application’s endpoints by defining which users’ roles are permitted to reach specific URLs. This mechanism ensures that protected resources are only accessible by the specific roles.
In this lesson, we’ll learn how to configure authorization rules for our application. We’ll build on our existing security configuration to set up custom rules for specific endpoints and briefly look at the various options Spring Security provides for this.
The relevant module we need to import when starting this lesson is url-authorization-start.
If we want to reference the fully implemented lesson, we can import url-authorization-end.
2. The Security Configuration
Previously, we focused on authentication (who you are) by setting up an AuthenticationManagerBuilder. Now, we’ll focus on authorization (what you’re allowed to do) by configuring HttpSecurity.
With modern Spring Security, we configure web-layer security by defining a SecurityFilterChain bean. This component-based approach is the standard and replaces the older WebSecurityConfigurerAdapter method.
Let’s open our LssSecurityConfig class and add our new SecurityFilterChain bean:
@Bean
public SecurityFilterChain filterChain(HttpSecurity http) throws Exception {
    http
        .authorizeHttpRequests((requests) -> requests
            .anyRequest().authenticated())
        .formLogin(Customizer.withDefaults());
    return http.build();
}
Let’s break this down:
- authorizeHttpRequests(): This is the new, recommended way to define authorization rules.
- anyRequest().authenticated(): This rule states that any request to any endpoint in our application must be authenticated.
- formLogin(Customizer.withDefaults()): This enables the default, auto-generated form login we saw previously.
If we run the application now, the behavior will be identical to our previous setup: all endpoints are protected, and we’re prompted to log in.
3. Adding Custom Authorization Rules
Now, let’s add a custom rule. In our application, deleting a user is a sensitive operation. We want to restrict the /delete/** endpoint so that it’s only accessible to users with an “ADMIN” role.
To do this, we’ll add a new rule using requestMatchers() (the modern replacement for antMatchers()).
A critical concept in Spring Security is that more specific authorization rules must be defined before more general rules. Therefore, we must place our new /delete/** rule before the anyRequest() rule.
Let’s update our filterChain() bean:
@Bean
public SecurityFilterChain filterChain(HttpSecurity http) throws Exception {
    http
        .authorizeHttpRequests((requests) -> requests
            .requestMatchers("/delete/**").hasRole("ADMIN")
            .anyRequest().authenticated())
        .formLogin(Customizer.withDefaults());
    return http.build();
}
With this change, we’ve told Spring Security to first check for URLs matching /delete/** and require the “ADMIN” role. If a URL doesn’t match that pattern, it falls through to the next rule, anyRequest().authenticated(), which simply requires any authenticated user.
4. Exploring Authorization Options
We used hasRole(“ADMIN”) to secure our endpoint, so let’s look at what that means and what other options we have.
- hasRole(“ADMIN”): This is the simplest way to check for a role. It’s important to know that hasRole() automatically adds a ROLE_ prefix to the value. It’s actually checking if the user has the authority ROLE_ADMIN.
- hasAuthority(“ADMIN”): If our roles or permissions are not prefixed with ROLE_, we can use this method. It checks for the exact authority provided (e.g., “ADMIN”).
- hasAnyRole(“ADMIN”, “MANAGER”): This checks if the user has any of the specified roles (prefixed with ROLE_).
- hasAnyAuthority(“ADMIN”, “MANAGER”): This checks if the user has any of the specified exact authorities.
Spring Security provides many other options, giving us a very flexible API:
- authenticated(): Allows any authenticated user.
- permitAll() / anonymous(): Allows all users, including those who are not logged in.
- denyAll(): Blocks all access to a resource.
- access(): The most powerful option, allowing us to use Spring Expression Language (SpEL) for complex, custom rules.
5. Testing the New Rule
Let’s see our new rule in action. We’ll run the application and log in with our “user”/”pass” credentials.
As we’ve defined it in our LssSecurityConfig, this “user” account has the USER role, but not the “ADMIN” role.
First, let’s try to create a new user. This operation works because the URL for creating a user doesn’t match our /delete/** rule, so it only requires authentication, which we have.
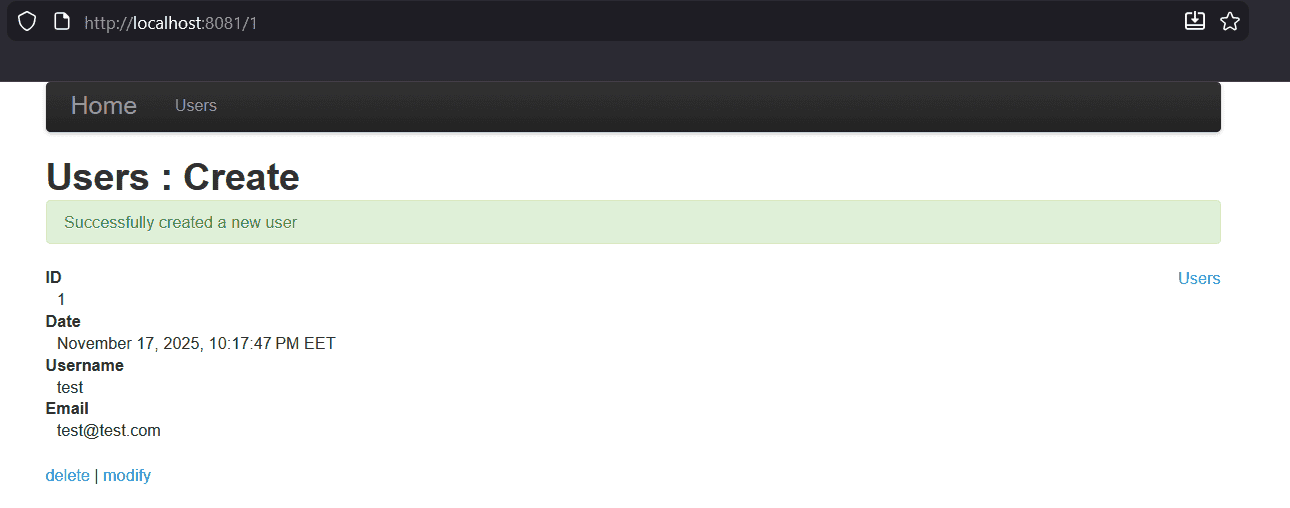
Now, from the user list, let’s try to delete the user we just created.
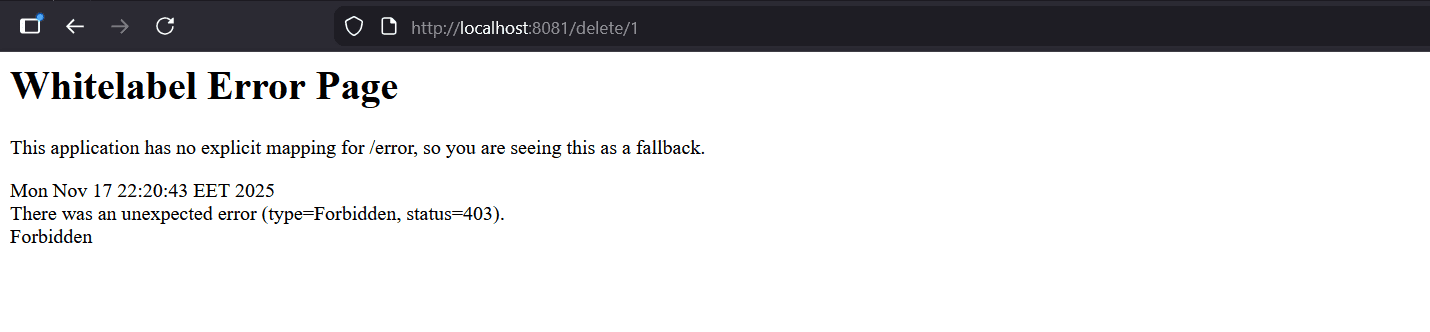
This time, the operation fails, and we are taken to an HTTP 403 Forbidden error page. This is exactly what we expected. Our user is authenticated, but they are not authorized to access the delete endpoint because they lack the required ADMIN role.
6. Conclusion
In this lesson, we took our first steps into URL authorization.
We built on our Java-based security configuration by defining a SecurityFilterChain bean to manage HttpSecurity rules. We learned how to use authorizeHttpRequests and requestMatchers to apply authorization rules to specific URL patterns, successfully securing the /delete/** endpoint.
Finally, we explored several of the most common authorization options, like hasRole() and hasAuthority(), giving us a solid foundation and an idea of the framework’s flexibility.