

Learn through the super-clean Baeldung Pro experience:
>> Membership and Baeldung Pro.
No ads, dark-mode and 6 months free of IntelliJ Idea Ultimate to start with.
Learn through the super-clean Baeldung Pro experience:
>> Membership and Baeldung Pro.
No ads, dark-mode and 6 months free of IntelliJ Idea Ultimate to start with.
LaTeX is a powerful typesetting tool for creating documents, particularly used in academia and research. When adding figures, we use captions as their concise descriptions.
A common requirement when working with figures in LaTeX is to define multiple figures with the same caption. In this tutorial, we’ll explore different ways of defining multiple figures with the same caption in LaTeX.
A typical use case is when we have a series of subfigures that should be presented together, e.g., the results for different values of a parameter.
There are several benefits of caption sharing:
LaTeX provides subcaption, subfloat, and minipage packages for creating and managing subfigures. There’s also the subfigure package, but it isn’t actively maintained.
To add a subfigure, we use the subfigure environment:
\begin{subfigure}[position][height]{width}
    % contents
\end{subfigure}
We use three arguments:
Each image is included using the \includegraphics command. We can specify the caption and the label for each subfigure.
Usually, we set only the width and let the height be scaled proportionally. So, most of the time, we won’t specify the height argument.
To work properly, subfigure is used within the figure environment, whose caption we set using the regular \caption command.
The width of a subfigure is determined by the width specified in the subfigure environment. However, \includegraphics can also specify width:
\begin{subfigure}[position]{subfigure_width}
    \includegraphics[width=included_width]{filename}
\end{subfigure}
The subfigure is set to occupy the specified value of subfigure_width. For example, setting the value of subfigure_width to 0.32\linewidth means 32% of the line width. What happens if \includegraphics also specifies the width of the included image?
In general, the width specified by \includegraphics only determines the size of the image within the subfigure_width. If we use width=\linewidth in \includegraphics, the actual width will correspond to the one set in the environment.
Let’s start with a simple case of adding subfigures horizontally. Here, we must ensure that the width doesn’t exceed that of our LaTeX document.
As an example, let’s say we have three images: car1.jpg, car2.jpg, and car3.jpg. We can show them side by side:
\begin{figure}
	\centering
	\begin{subfigure}{0.3\linewidth}
		\includegraphics[width=\linewidth]{car1.jpg}
		\caption{Yellow color}
		\label{fig:subfigA}
	\end{subfigure}
	\begin{subfigure}{0.3\linewidth}
		\includegraphics[width=\linewidth]{car2.jpg}
		\caption{Red color}
		\label{fig:subfigB}
	\end{subfigure}
	\begin{subfigure}{0.3\linewidth}
	        \includegraphics[width=\linewidth]{car3.jpg}
	        \caption{Green color}
	        \label{fig:subfigC}
         \end{subfigure}
	\caption{Showing three cars in different colors horizontally.}
	\label{fig:subfigures}
\end{figure}
and get the following output:
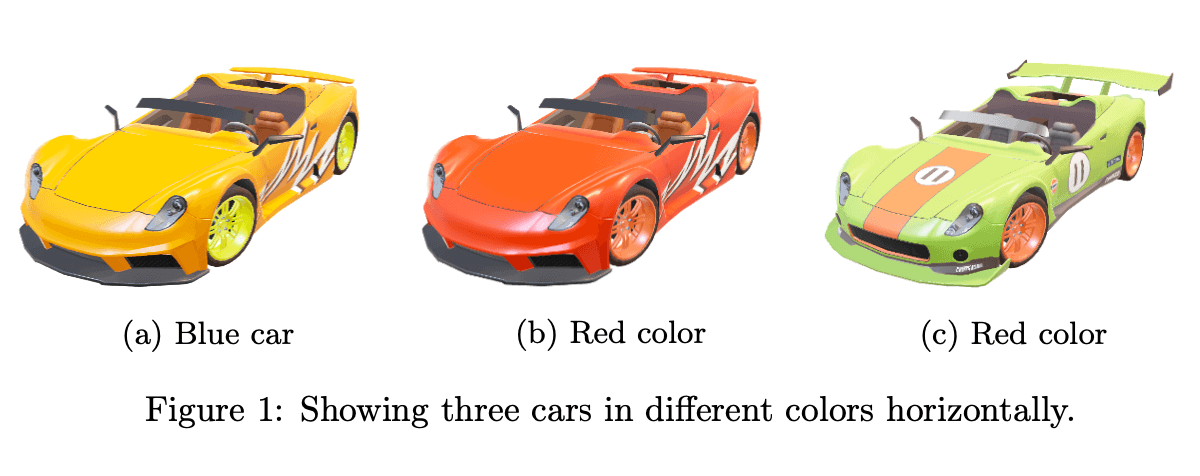
We added each image as a standalone subfigure and set one caption and a label for all of them. Additionally, we specified individual captions and labels for subfigures.
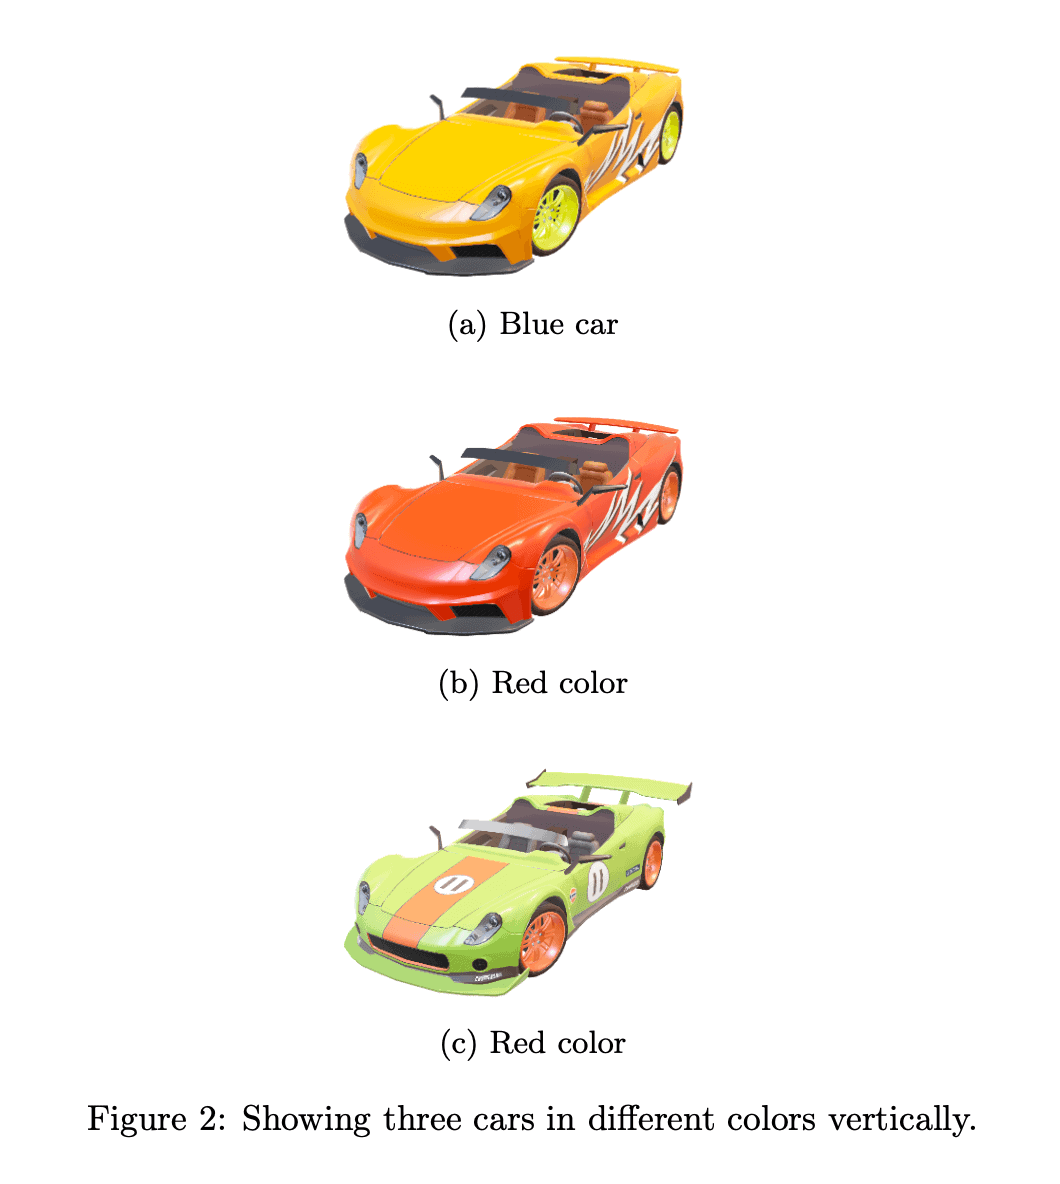
We can also add images vertically. To do this, we can use the above LaTeX codes and use \vfill or \\ after each subfigure to force a new row:
We can also organize images in a grid.
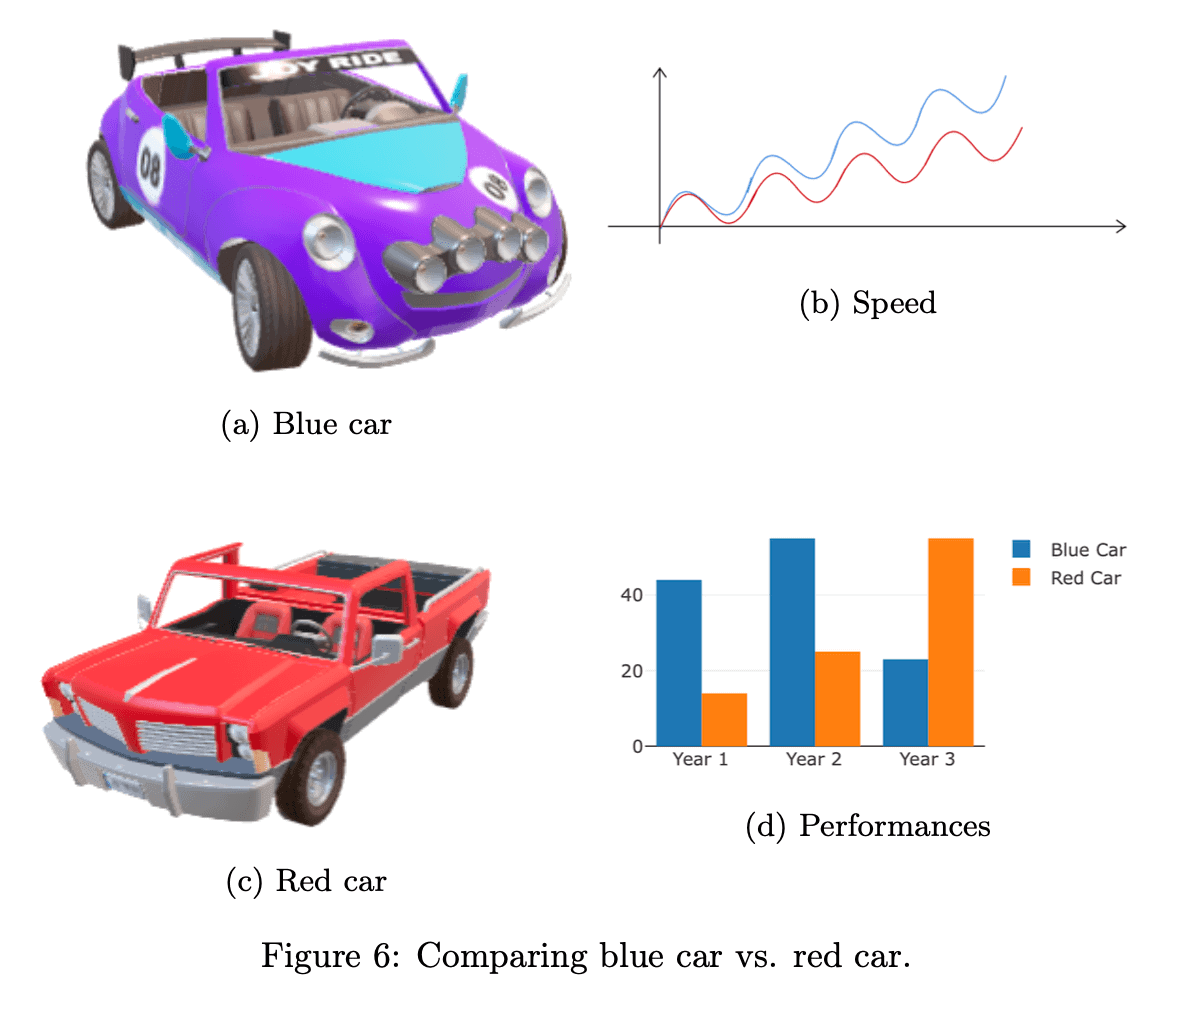
Let’s say we want to show four images in a  layout. To do so, we combine the approaches for horizontal and vertical placement:
\begin{figure}
      \centering
	   \begin{subfigure}{0.45\linewidth}
		\includegraphics[width=\linewidth]{cars/image1}
		\caption{Blue car}
		\label{fig:subfig1}
	   \end{subfigure}
	   \begin{subfigure}{0.45\linewidth}
		\includegraphics[width=\linewidth]{cars/image2}
		\caption{Speed}
		\label{fig:subfig2}
	    \end{subfigure}
	\vfill
	     \begin{subfigure}{0.45\linewidth}
		 \includegraphics[width=\linewidth]{cars/image3}
		 \caption{Red car}
		 \label{fig:subfig3}
	      \end{subfigure}
	       \begin{subfigure}{0.45\linewidth}
		  \includegraphics[width=\linewidth]{cars/image4}
		  \caption{Performances}
		  \label{fig:subfig4}
	       \end{subfigure}
	\caption{Comparing blue car vs. red car.}
	\label{fig:subfigures4}
\end{figure}
which generates:
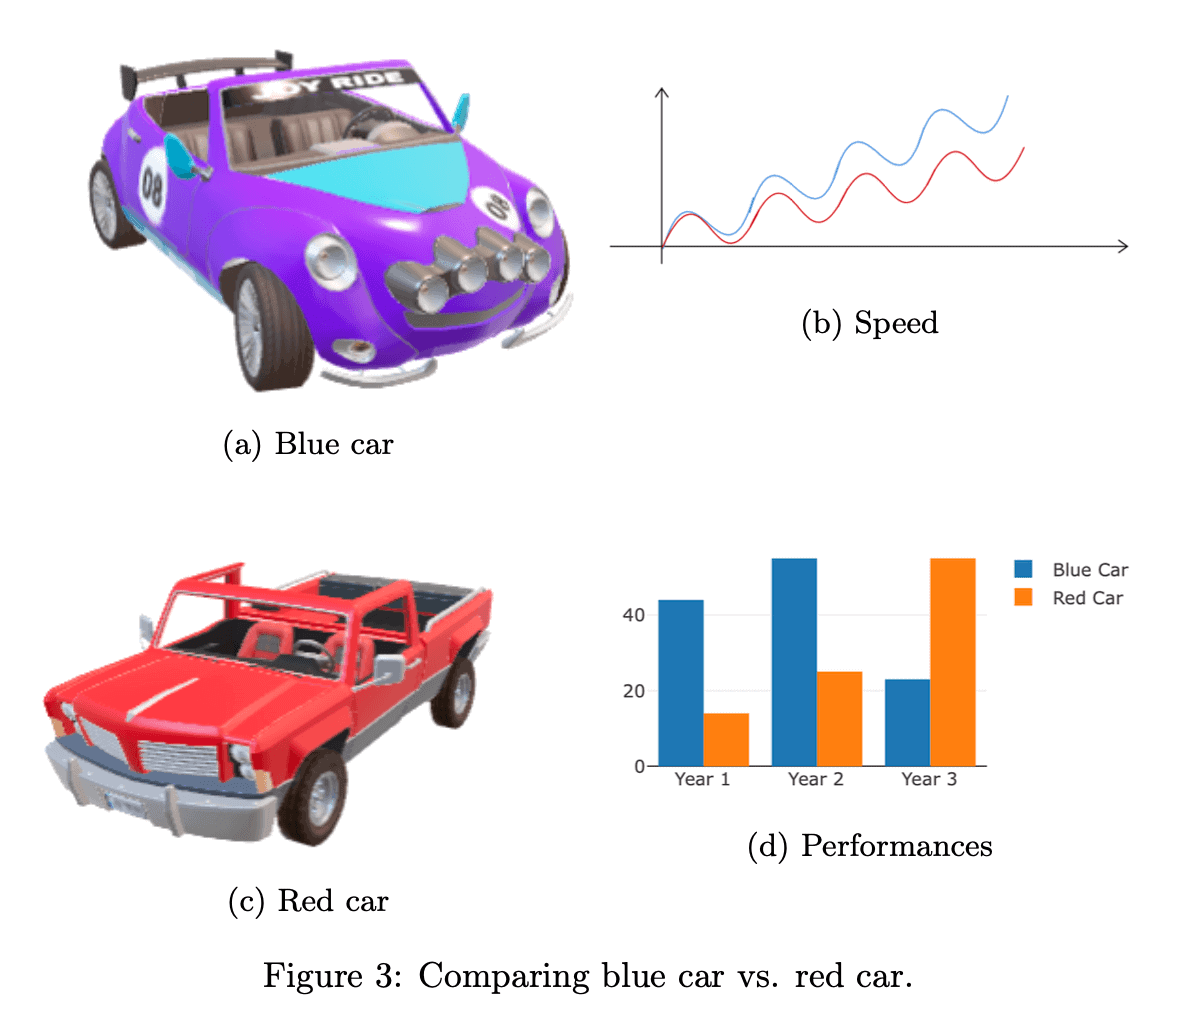
The rule is to end each row with \vfill or \\.
For example, let’s say we have several images, among which some are similar. We can insert similar images into one subfigure using multiple \includegraphics commands:
\begin{figure}
     \centering
	\begin{subfigure}{0.45\linewidth}
	    \includegraphics[width=0.45\linewidth]{cars/blue1}
	    \includegraphics[width=0.45\linewidth]{cars/blue2}\\
	    \includegraphics[width=0.45\linewidth]{cars/blue3}
            \includegraphics[width=0.45\linewidth]{cars/blue4}
	    \caption{Blue car}
	     \label{fig:subfig1}
	\end{subfigure}
	\begin{subfigure}{0.45\linewidth}
	    \includegraphics[width=\linewidth]{cars/performance}
	    \caption{Speed}
	    \label{fig:subfig2}
	\end{subfigure}
    \vfill
	\begin{subfigure}{0.45\linewidth}
	     \includegraphics[width=0.45\linewidth]{cars/red1}
	     \includegraphics[width=0.45\linewidth]{cars/red2}\\
	     \includegraphics[width=0.45\linewidth]{cars/red3}
	     \includegraphics[width=0.45\linewidth]{cars/red4}
	     \caption{Red car}
	     \label{fig:subfig3}
	\end{subfigure}
	\begin{subfigure}{0.45\linewidth}
	    \includegraphics[width=\linewidth]{cars/barplot}
	    \caption{Performances}
	    \label{fig:subfig4}
        \end{subfigure}
     \caption{Comparing blue car vs. red car, showing multiple sides.}
     \label{fig:subfigures2}
\end{figure}
which gives us:

We have four subfigures, but two of them are composite and contain multiple images instead of only one.
The syntax of the minipage environment is similar to that of subfigure:
\begin{minipage}[position][height]{subfigure_width}
% subfigure contents
\end{minipage}
The position specifies the vertical alignment of the subfigure within the larger figure and is optional. The subfigure_width defines the width of the subfigure. The rules about width are the same as for subfigure. The height option set the height of the minipage. For example, setting height as 3in means will set a minipage height to 3 inches vertically.
This environment is native to LaTeX but needs subcaption if we want to show sub-captions.
We can re-create any of the previous figures shown. As a demonstration, let’s re-create the grid example using the minipage environment:
\begin{figure}
	\centering
	\begin{minipage}{0.45\linewidth}
	     \includegraphics[width=\linewidth]{image1.jpg}
	      \subcaption{Blue car}
	      \label{fig:subfig1}
	\end{minipage}
	\begin{minipage}{0.45\linewidth}
	    \includegraphics[width=\linewidth]{image2.jpg}
	    \subcaption{Speed}
	    \label{fig:subfig2}
        \end{minipage} \\
	\begin{minipage}{0.45\linewidth}
	    \includegraphics[width=\linewidth]{image3.jpg}
	    \subcaption{Red car}
	\label{fig:subfig3}
         \end{minipage}
         \begin{minipage}{0.45\linewidth}
	    \includegraphics[width=\linewidth]{image4.jpg}
	    \subcaption{Performances}
	\label{fig:subfig4}
         \end{minipage}
\caption{Comparing blue car vs. red car.}
\end{figure}
to generate the following output
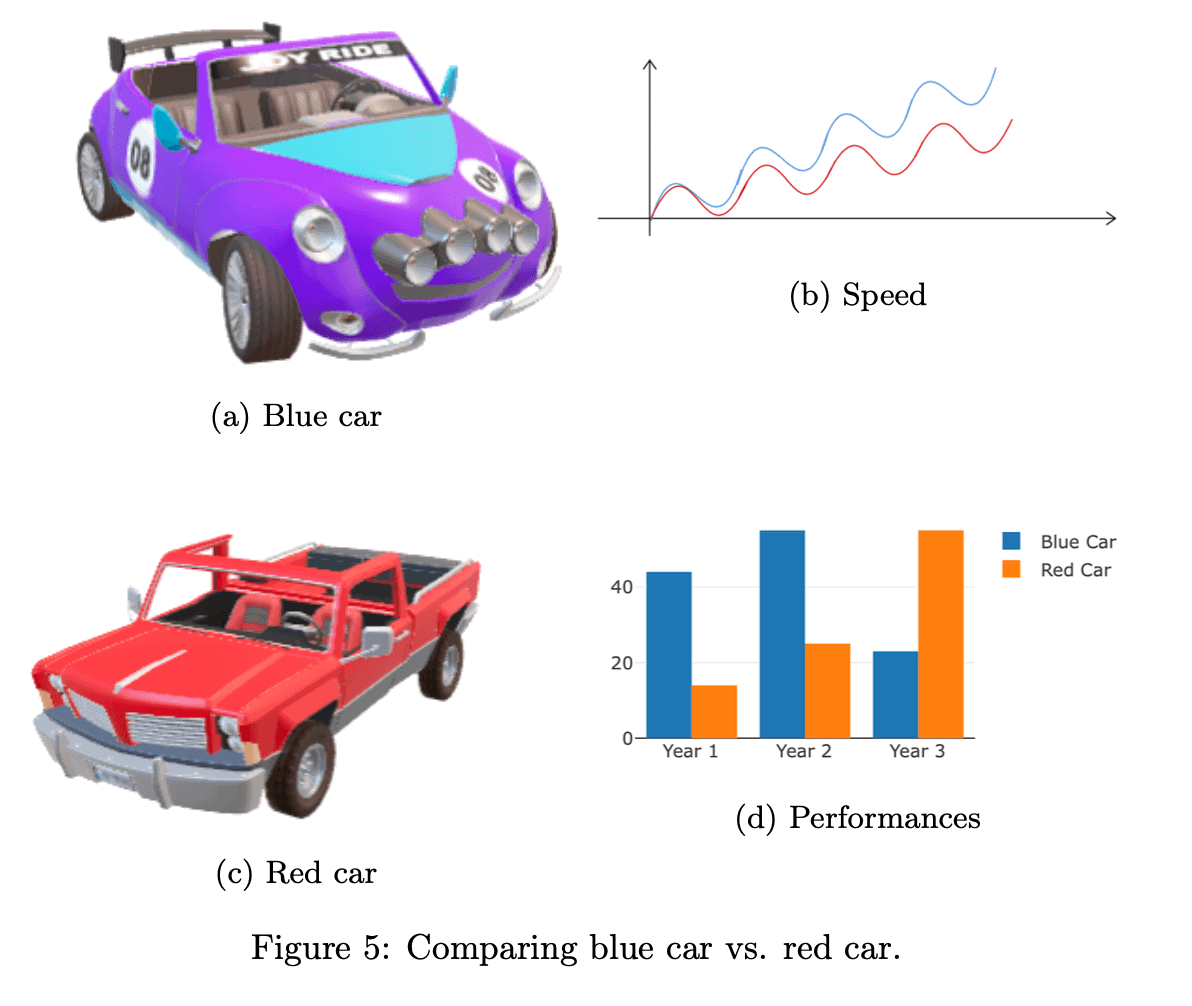
The first two subfigures are horizontally aligned and in the first row. By simply adding \vfill or \\ at the end of the second minipage environment, we instruct LaTeX to place the remaining two subfigures in the second row.
We use \subcaption from the subcaption package to show sub-captions inside a mini page.
The subfig package offers the \subfloat command:
\subfloat[ caption]{body}Its arguments are:
We can use \subfloat to add a subfigure:
\begin{figure}
	\centering
	\subfloat[Caption]{\includegraphics[0.3\linewidth]{car1.jpg}
         \label{fig:subfig1}}
\end{figure}
We specify the subfigure’s caption as the optional argument. Then, we add its body with \includegraphics, in which we specify the width and the label.
After that, we can use commands like \hspace to add horizontal spacing between the subfigures. Additionally, we can use \\[xpt] to add vertical spacing of x pt between two rows of subfigures, which results in vertical separation.
Unlike the subcaption and minipage environments, the subfloat command doesn’t specify the width of the subfigure. Instead, we use \includegraphics to set it.
Let’s re-create the grid example:
\begin{figure}
    \centering
	\subfloat[Blue car]{\includegraphics[width=0.45\linewidth]{image1.jpg}\label{fig:subfig1}}
	\subfloat[Sped]{\includegraphics[width=0.45\linewidth]{image2.jpg}\label{fig:subfig2}} \\
	\subfloat[Red car]{\includegraphics[width=0.45\linewidth]{image3.jpg}\label{fig:subfig3}}
        \subfloat[Performances]{\includegraphics[width=0.45\linewidth]{image4.jpg}\label{fig:subfig4}}
    \caption{Comparing blue car vs. red car.}
    \label{fig:subfigures}
\end{figure}
to generate the following output
As we see, the advantage of this method is that we can use a single line of code to insert an image, add a caption, and label it.
When defining multiple plots or figures with the same caption in LaTeX, it is essential we use proper labeling and cross-referencing techniques.
By using the \label and \ref commands, we can create references to individual subfigures, making it easier for us to navigate the document and reference the relevant images later. However, we can also label the entire figure and reference all the subfigures together.
Captions accompanying figures provide description and context. LaTeX allows various formatting options in the caption package. We can customize our caption style and fonts in LaTeX. For example, the following LaTeX code:
\usepackage{caption}
\captionsetup[figure]{font={small, it, sf}}
sets the caption font to a small size, italic style, and sans-serif family.
We can customize the caption format by changing the label separator, adding prefix or suffix text, or altering the alignment. To do this, we use the following code:
\captionsetup[figure]{labelsep=colon, justification=centering, prefix=Figure: }The main differences between the subcaption, subfig, and minipage approaches are as follows:
| Basis | subcaption | minipage | subfig |
|---|---|---|---|
| Compatibility with other packages | compatible with a wide range of packages such as hyperref and cleveref | limited compatibility with other packages, especially when used together with caption package | compatible with most LaTeX packages and environments. |
| Subcaption | uses caption to add a caption to subfigures | uses subcaption to add a caption to subfigure | uses subfloat to add a caption to subfigure |
| Package | subcaption | / | subfig |
| Flexibilty | allows the creation of subfigures with individual captions, labels, and references | allows the creation of subfigures with individual captions, labels, and references. | allows for more manual control over the placement and arrangement of subfigures. |
| Image width | uses both subfigure width includegraphics width to determine the overall size of a subfigure | uses both minipage width and includegraphics width to determine the overall size of a subfigure | uses only includegraphics width to determine the size of a subfigure |
For all the three approaches we described, their subfigure environment/command (i.e., subfigure, minipage, and subfloat) must be inside a figure environment if we want subfigures to share the overall caption.
In this article, we described how to use subcaption, minipages, and subfig packages to define multiple figures with the same caption in LaTeX. Using the same caption enhances the clarity and organization of LaTeX documents.