1. Overview
In the Java ecosystem, as the new releases of JDK are introduced at least once a year, we’ll probably need to switch to a newer version at some point.
In this quick tutorial, we’ll show how to check the available JREs, add a JRE to Eclipse, and change a Java version in an Eclipse project, so we’ll be ready when that time comes.
2. Check Whether the JRE Is Available in Eclipse
After being sure that we have installed the version that we want to use, we’ll need to ensure that it’s available to use in Eclipse.
Let’s take a look at Window -> Preferences, and within that, Java -> Installed JREs:
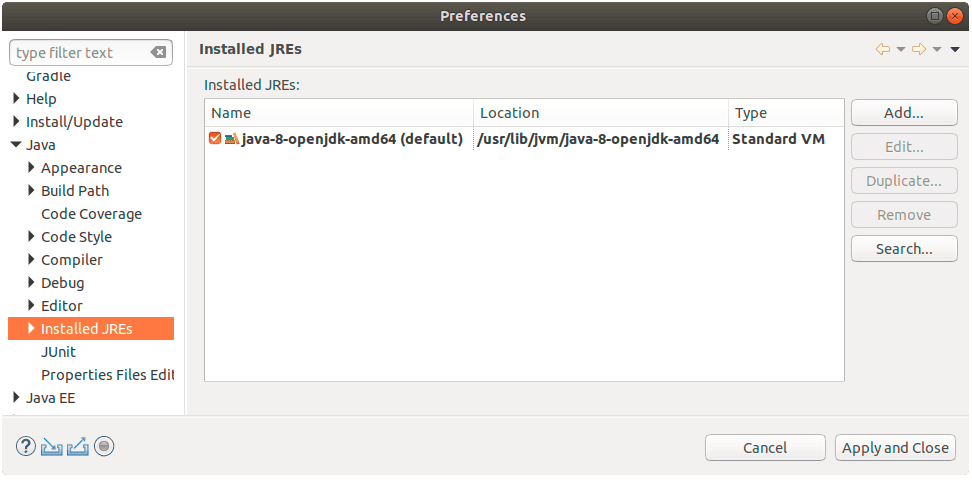
If the JRE we want is listed, then we’re good to go.
But, suppose we need to use JRE 9, 10, or 11. Since we only have JDK 8 installed, we’ll have to add it to Eclipse.
3. Adding a JRE to Eclipse
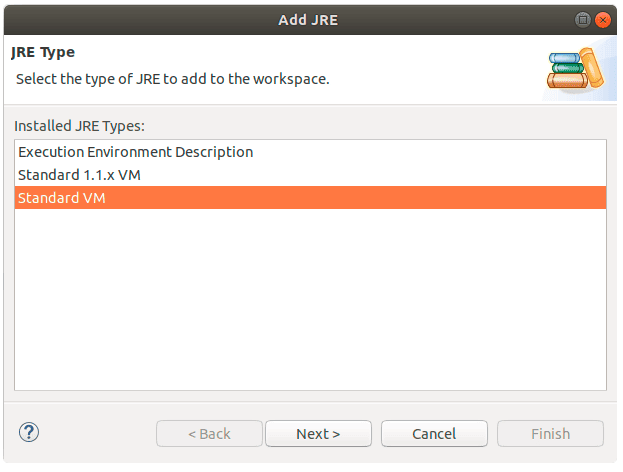
Next, from the Window -> Preferences dialog, let’s click the Add… button. From here, we need to specify the JRE type. We’ll choose Standard VM:
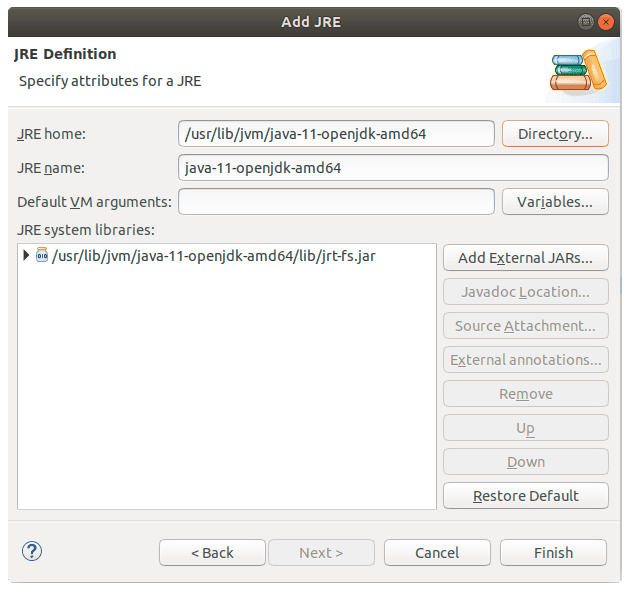
And finally, let’s specify the location of the new JRE (under the JRE home) and click Finish:
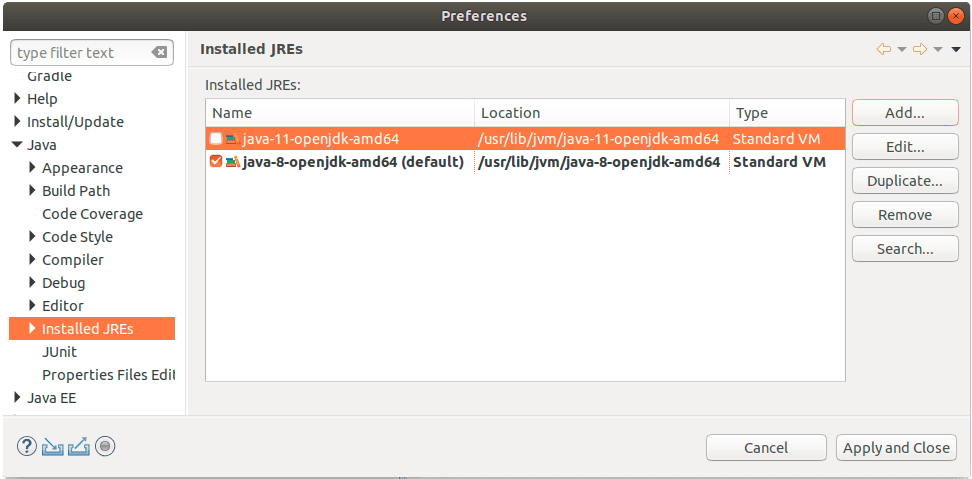
As a result, we now have two JREs configured in our IDE:
4. Change the Java Version of Our Project
Now, let’s suppose that we were using Java 8 in our project and now we want to change it to Java 10:
First, we’ll navigate to the Project properties and then to the Java Build Path:
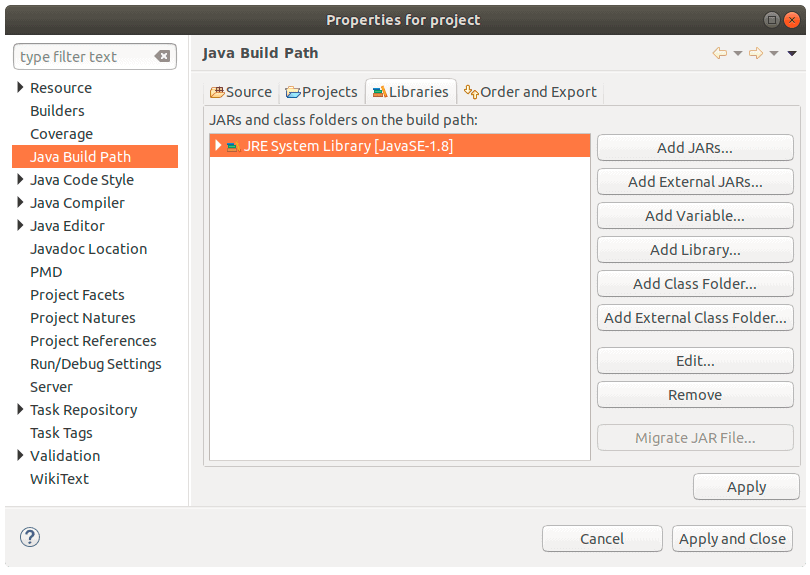
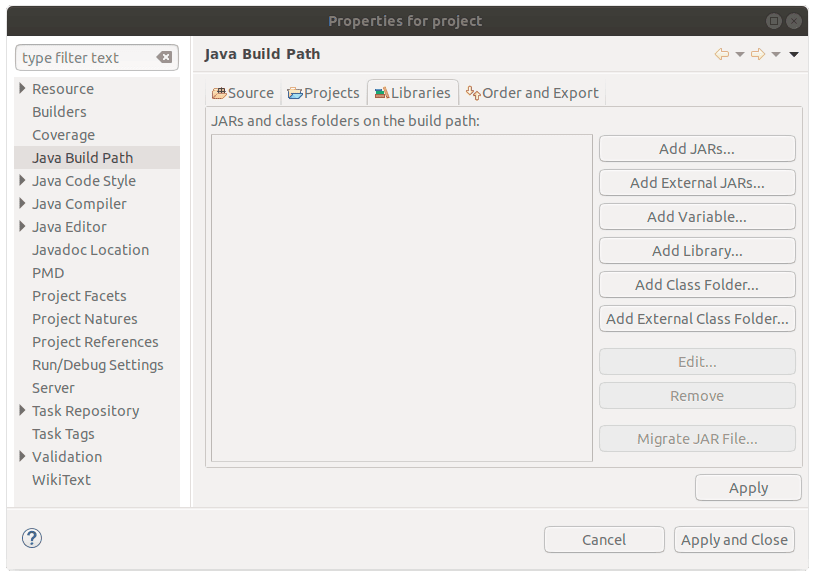
and hit the Remove button on the existing JRE:
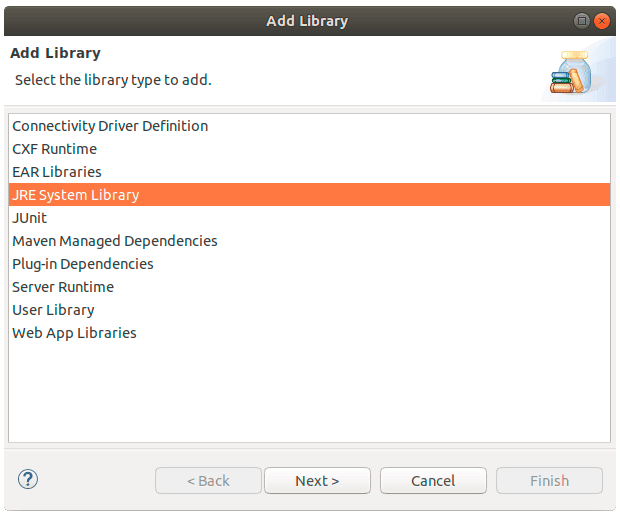
Now, we’ll use the Add Library button and choose the JRE System Library:
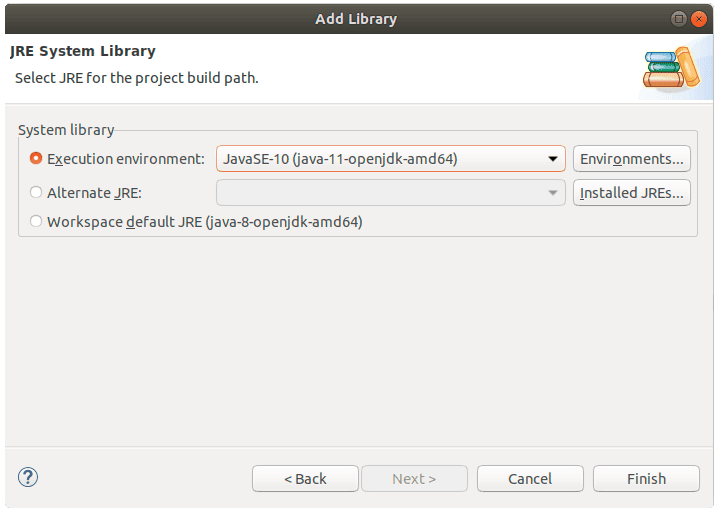
Let’s choose JavaSE-10 from the JDK that we recently installed and click the Finish button:
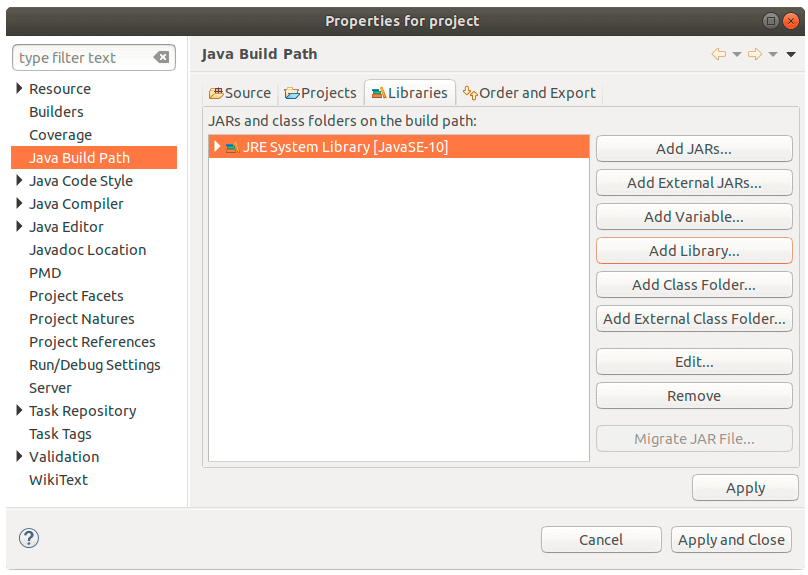
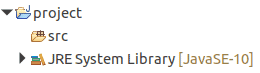
Now, as we can see, we’ve correctly configured our project’s Java Build Path:
We need to do one additional step — make sure we’re using the correct Compiler Compliance Level for the Java Compiler:
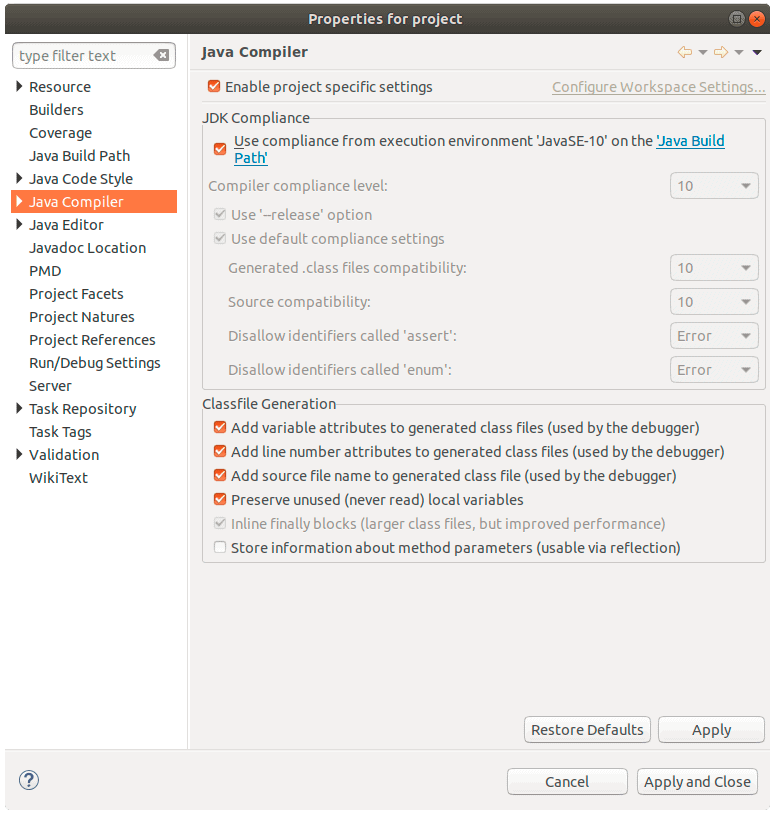
In our case it says Java 10, so we’re all good:
In case the Compiler Compliance Level is not the correct one, we can simply uncheck the Use compliance from execution environment option and choose the correct one.
5. Conclusion
In this quick article, we learned how to add a new JRE into our Eclipse workspace and how to switch to a different Java version in our current Eclipse project.


