1. Introduction
In this article, we’ll see how we can create a presentation using Apache POI.
This library gives us a possibility to create PowerPoint presentations, read existing ones, and to alter their content.
2. Maven Dependencies
To begin, we’ll need to add the following dependencies into our pom.xml:
<dependency>
    <groupId>org.apache.poi</groupId>
    <artifactId>poi</artifactId>
    <version>5.2.5</version>
</dependency>
<dependency>
    <groupId>org.apache.poi</groupId>
    <artifactId>poi-ooxml</artifactId>
    <version>5.2.5</version>
</dependency>
The latest version of both libraries can be downloaded from Maven Central.
3. Apache POI
The Apache POI library supports both .ppt and .pptx files, and it provides the HSLF implementation for the Powerpoint ’97(-2007) file format and the XSLF for the PowerPoint 2007 OOXML file format.
Since a common interface doesn’t exist for both implementations, we have to remember to use the XMLSlideShow, XSLFSlide and XSLFTextShape classes when working with the newer .pptx file format.
And, when it’s required to work with the older .ppt format, use the HSLFSlideShow, HSLFSlide and HSLFTextParagraph classes.
We’ll use the new .pptx file format in our examples, and the first thing we have to do is create a new presentation, add a slide to it (maybe using a predefined layout) and save it.
Once these operations are clear, we can then start working with images, text, and tables.
3.1. Create a New Presentation
Let’s first create the new presentation:
XMLSlideShow ppt = new XMLSlideShow();
ppt.createSlide();
3.2. Add a New Slide
When adding a new slide to a presentation, we can also choose to create it from a predefined layout. To achieve this, we first have to retrieve the XSLFSlideMaster that holds layouts (the first one is the default master):
XSLFSlideMaster defaultMaster = ppt.getSlideMasters().get(0);
Now, we can retrieve the XSLFSlideLayout and use it when creating the new slide:
XSLFSlideLayout layout
  = defaultMaster.getLayout(SlideLayout.TITLE_AND_CONTENT);
XSLFSlide slide = ppt.createSlide(layout);
Let’s see how to fill placeholders inside a template:
XSLFTextShape titleShape = slide.getPlaceholder(0);
XSLFTextShape contentShape = slide.getPlaceholder(1);
Remember that each template has its placeholders, instances of the XSLFAutoShape subclass, which could differ in number from one template to another.
Let’s see how we can quickly retrieve all placeholders from a slide:
for (XSLFShape shape : slide.getShapes()) {
    if (shape instanceof XSLFAutoShape) {
        // this is a template placeholder
    }
}
3.3. Saving a Presentation
Once we’ve created the slideshow, the next step is to save it:
FileOutputStream out = new FileOutputStream("powerpoint.pptx");
ppt.write(out);
out.close();
4. Working With Objects
Now that we saw how to create a new presentation, add a slide to it (using or not a predefined template) and save it, we can start adding text, images, links, and tables.
Let’s start with the text.
4.1. Text
When working with text inside a presentation, as in MS PowerPoint, we have to create the text box inside a slide, add a paragraph and then add the text to the paragraph:
XSLFTextBox shape = slide.createTextBox();
XSLFTextParagraph p = shape.addNewTextParagraph();
XSLFTextRun r = p.addNewTextRun();
r.setText("Baeldung");
r.setFontColor(Color.green);
r.setFontSize(24.);
When configuring the XSLFTextRun, it’s possible to customize its style by picking the font family and if the text should be in bold, italic or underlined.
4.2. Hyperlinks
When adding text to a presentation, sometimes it can be useful to add hyperlinks.
Once we have created the XSLFTextRun object, we can now add a link:
XSLFHyperlink link = r.createHyperlink();
link.setAddress("http://www.baeldung.com");
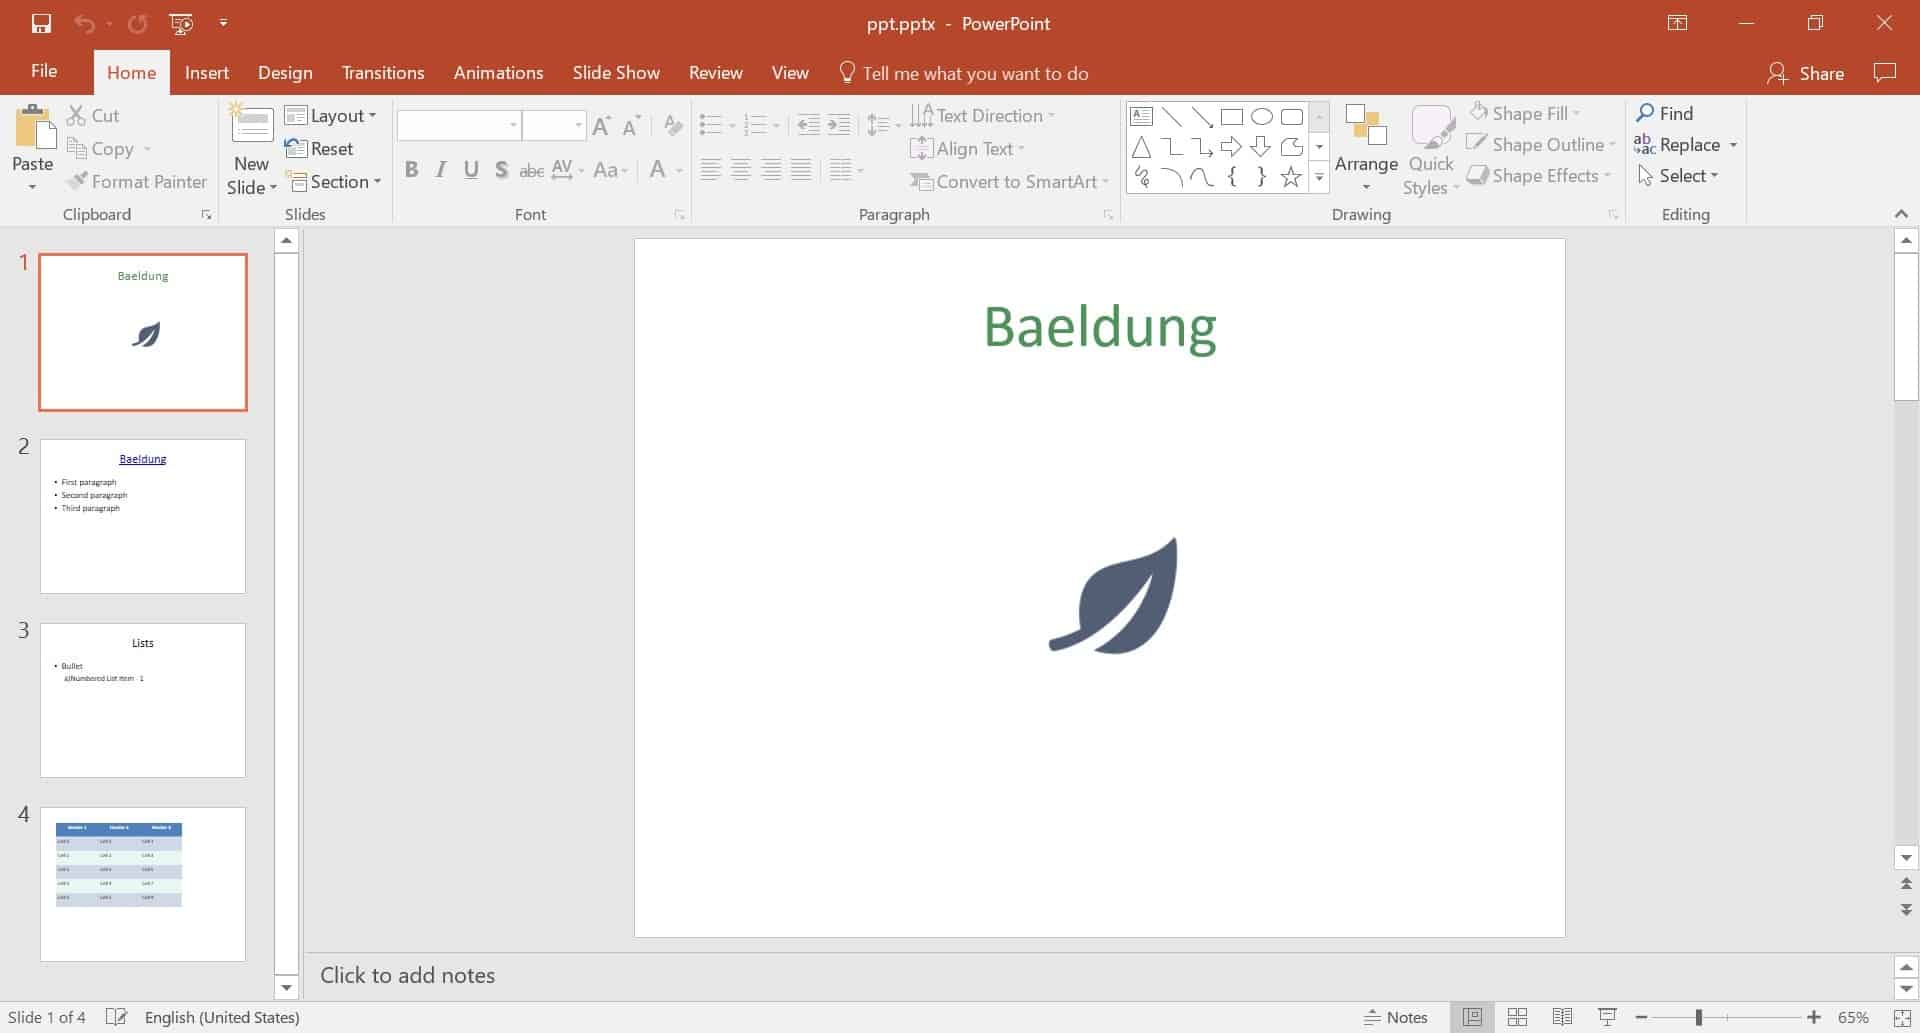
4.3. Images
We can add images, as well:
byte[] pictureData = IOUtils.toByteArray(
  new FileInputStream("logo-leaf.png"));

XSLFPictureData pd
  = ppt.addPicture(pictureData, PictureData.PictureType.PNG);
XSLFPictureShape picture = slide.createPicture(pd);
However, without a proper configuration, the image will be placed in the top left corner of the slide. To place it properly, we have to configure its anchor point:
picture.setAnchor(new Rectangle(320, 230, 100, 92));
The XSLFPictureShape accepts a Rectangle as an anchor point, which allows us to configure the x/y coordinates with the first two parameters, and the width/height of the image with the last two.
4.4. Lists
Text, inside of a presentation, is often represented in the form of a list, numbered or not.
Let’s now define a list of bullet points:
XSLFTextShape content = slide.getPlaceholder(1);
XSLFTextParagraph p1 = content.addNewTextParagraph();
p1.setIndentLevel(0);
p1.setBullet(true);
r1 = p1.addNewTextRun();
r1.setText("Bullet");
Similarly, we can define a numbered list:
XSLFTextParagraph p2 = content.addNewTextParagraph();
p2.setBulletAutoNumber(AutoNumberingScheme.alphaLcParenRight, 1);
p2.setIndentLevel(1);
XSLFTextRun r2 = p2.addNewTextRun();
r2.setText("Numbered List Item - 1");
In case we’re working with multiple lists, it’s always important to define the indentLevel to achieve a proper indentation of items.
4.5. Tables
Tables are another key object in a presentation and are helpful when we want to display data.
Let’s start by creating a table:
XSLFTable tbl = slide.createTable();
tbl.setAnchor(new Rectangle(50, 50, 450, 300));
Now, we can add a header:
int numColumns = 3;
XSLFTableRow headerRow = tbl.addRow();
headerRow.setHeight(50);

for (int i = 0; i < numColumns; i++) {
    XSLFTableCell th = headerRow.addCell();
    XSLFTextParagraph p = th.addNewTextParagraph();
    p.setTextAlign(TextParagraph.TextAlign.CENTER);
    XSLFTextRun r = p.addNewTextRun();
    r.setText("Header " + (i + 1));
    tbl.setColumnWidth(i, 150);
}
Once the header is completed, we can add rows and cells to our table to display data:
for (int rownum = 1; rownum < numRows; rownum++) {
    XSLFTableRow tr = tbl.addRow();
    tr.setHeight(50);

    for (int i = 0; i < numColumns; i++) {
        XSLFTableCell cell = tr.addCell();
        XSLFTextParagraph p = cell.addNewTextParagraph();
        XSLFTextRun r = p.addNewTextRun();
        r.setText("Cell " + (i*rownum + 1));
    }
}
When working with tables, it’s important to remind that it’s possible to customize the border and the background of every single cell.
5. Altering a Presentation
Not always when working on a slideshow, we have to create a new one, but we have to alter an already existing one.
Let’s give a look to the one that we created in the previous section and then we can start altering it:

5.1. Reading a Presentation
Reading a presentation is pretty simple and can be done using the XMLSlideShow overloaded constructor that accepts a FileInputStream:
XMLSlideShow ppt = new XMLSlideShow(
  new FileInputStream("slideshow.pptx"));
5.2. Changing Slide Order
When adding slides to our presentation, it’s a good idea to put them in the correct order to have a proper flow of slides.
When this doesn’t happen, it’s possible to re-arrange the order of the slides. Let’s see how we can move the fourth slide to be the second one:
List<XSLFSlide> slides = ppt.getSlides();

XSLFSlide slide = slides.get(3);
ppt.setSlideOrder(slide, 1);
5.3. Deleting a Slide
It’s also possible to delete a slide from a presentation.
Let’s see how we can delete the 4th slide:
ppt.removeSlide(3);
6. Conclusion
This quick tutorial has illustrated how to use the Apache POI API to read and write PowerPoint file from a Java perspective.
The complete source code for this article can be found, as always, over on GitHub.