Activiti Kickstart App and Activiti Rest Webapp
Last updated: May 8, 2025


Mocking is an essential part of unit testing, and the Mockito library makes it easy to write clean and intuitive unit tests for your Java code.
Get started with mocking and improve your application tests using our Mockito guide:
Handling concurrency in an application can be a tricky process with many potential pitfalls. A solid grasp of the fundamentals will go a long way to help minimize these issues.
Get started with understanding multi-threaded applications with our Java Concurrency guide:
Spring 5 added support for reactive programming with the Spring WebFlux module, which has been improved upon ever since. Get started with the Reactor project basics and reactive programming in Spring Boot:
Since its introduction in Java 8, the Stream API has become a staple of Java development. The basic operations like iterating, filtering, mapping sequences of elements are deceptively simple to use.
But these can also be overused and fall into some common pitfalls.
To get a better understanding on how Streams work and how to combine them with other language features, check out our guide to Java Streams:
Explore Spring Boot 3 and Spring 6 in-depth through building a full REST API with the framework:
Yes, Spring Security can be complex, from the more advanced functionality within the Core to the deep OAuth support in the framework.
I built the security material as two full courses - Core and OAuth, to get practical with these more complex scenarios. We explore when and how to use each feature and code through it on the backing project.
You can explore the course here:
Spring Data JPA is a great way to handle the complexity of JPA with the powerful simplicity of Spring Boot.
Get started with Spring Data JPA through the guided reference course:
Refactor Java code safely — and automatically — with OpenRewrite.
Refactoring big codebases by hand is slow, risky, and easy to put off. That’s where OpenRewrite comes in. The open-source framework for large-scale, automated code transformations helps teams modernize safely and consistently.
Each month, the creators and maintainers of OpenRewrite at Moderne run live, hands-on training sessions — one for newcomers and one for experienced users. You’ll see how recipes work, how to apply them across projects, and how to modernize code with confidence.
Join the next session, bring your questions, and learn how to automate the kind of work that usually eats your sprint time.
1. Overview
In our previous articles (based on Activiti API with Java and Spring), we saw how to manage processes programmatically. If we want to set up a demo, along with the UI for Activiti, we have two webapps which will allow us to do so in just a few minutes.
activiti-app offers a user interface through which a user can perform any identity management and task management related operations, create users and groups.
Similarly, activiti-rest is a webapp that provides the REST API for performing any operation on a process, task, process, etc.
In this article, we’ll look into how to use these webapps, and what functionalities they provide.
2. Downloads
We can download the war files for both webapps from Activiti Website itself.
For v6.0.0, we can just download the activiti-6.0.0.zip, extract it, and the war files can be found in activiti-6.0.0/wars directory.
3. Activiti Kickstart App
We’ll need a working Java runtime and an Apache Tomcat installation to deploy the app. Any web container would work, but Activiti is tested on Tomcat primarily.
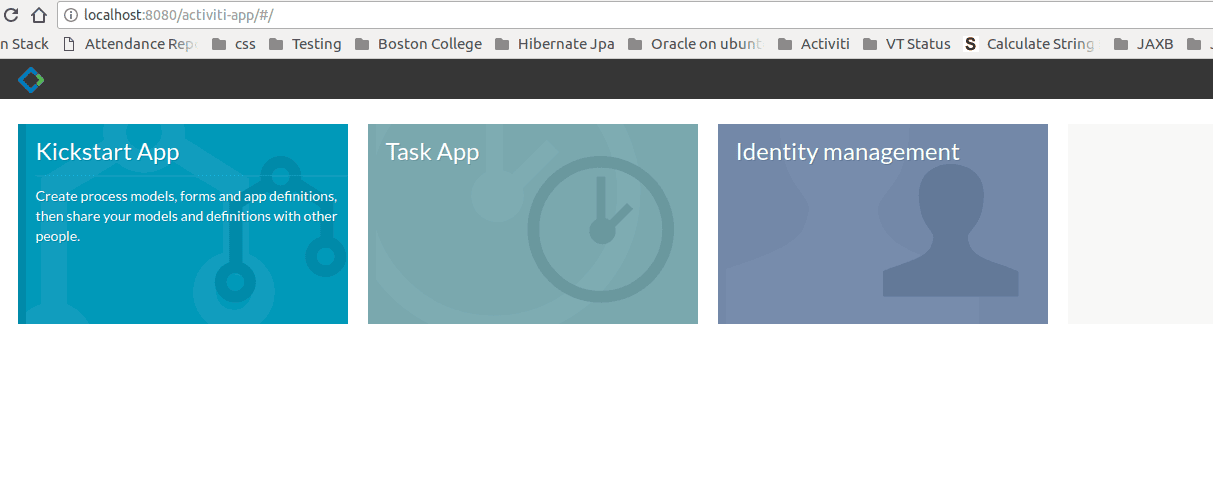
Now, we need just to deploy the war on Tomcat and access it using http://localhost:8080/activiti-app.
The home page should look like this:
3.1. Database
By default, it uses the H2 in-memory database. If we want to change the DB configuration, we can check out the code and modify the activiti-app.properties file.
After doing this, we need to re-generate the war file, which can be done by running the start.sh script. This will build the activiti-app along with the required dependencies.
3.2. Kickstart App
When we click on the Kickstart App, we get the options for working with a Process. We can create/import processes and run them from here.
Let’s create a small process that has a single User Task, which receives a message from a user. Once in the Kickstart App, to create a process select the Processes tab, and click on Create Process:
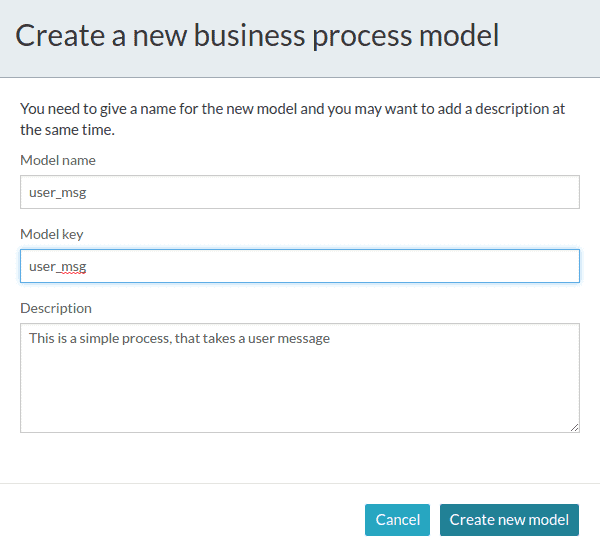
Process editor will open where we can drag and drop various symbols for start events, various types of tasks and end events to define a Process.
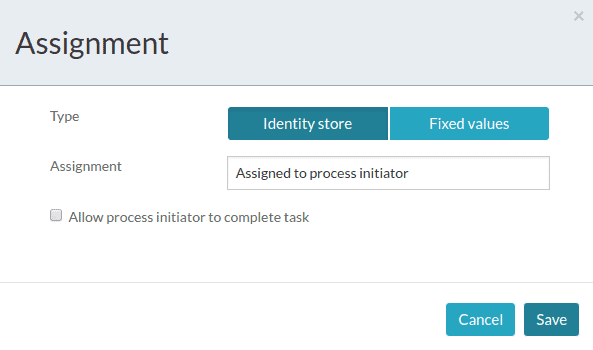
As we’re adding a User Task to our process, we need to assign it to someone. We can do it by clicking on assignments from the options for this task and selecting an Assignee.
For simplicity, let’s assign the task to the process initiator:
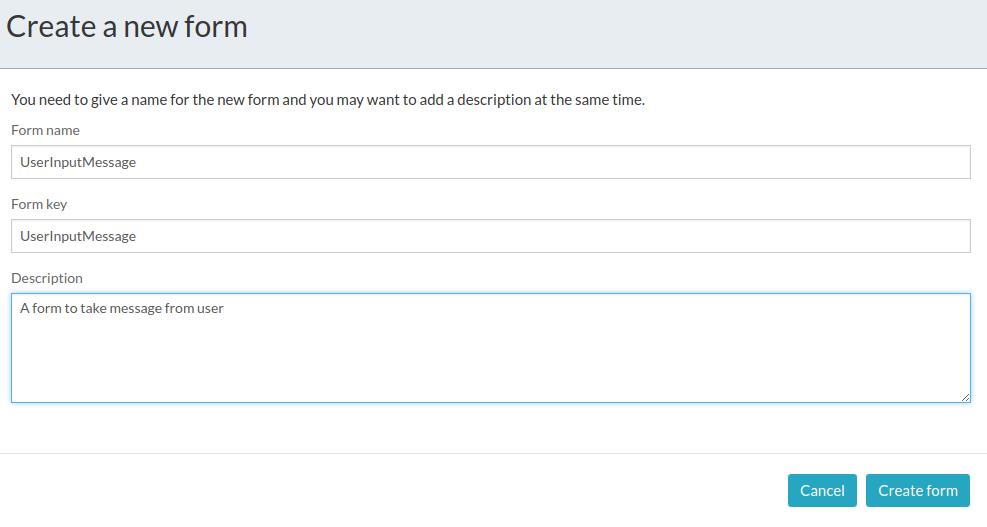
We also want this User Task to get an input message from the user. To achieve this, we need to associate a Form, with a single text field, with this task.
Select the User Task and select Referenced Form. Currently, there’s no Form associated with the task, so click on New Form, and add the required details:
After this, it’ll take us to the Forms section where we can drag and drop various fields that we want in our form and also set labels for them:
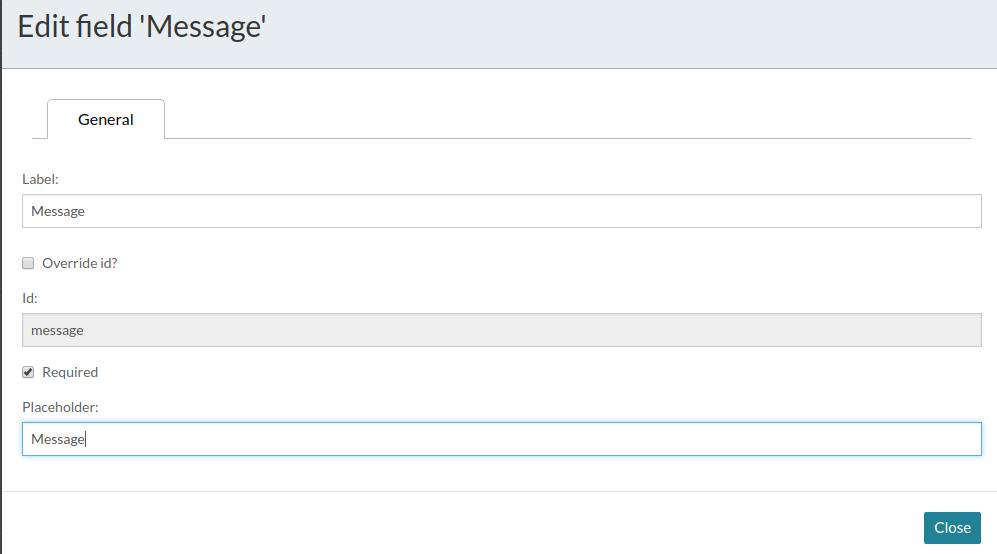
Notice that we’ve ticked the Required, which means the User task cannot complete without entering the Message.
Once done, we’ll save it and go to Apps tab. To be able to run the process we created, we need to create a Process App.
In the Process App, we can add one or more Process Definitions. After doing this, we need to publish this App, so that the Processes are made available to other users:

3.3. Task App
In the Task App, there’re two tabs: Tasks – for currently running tasks, and Processes – for currently running Processes.
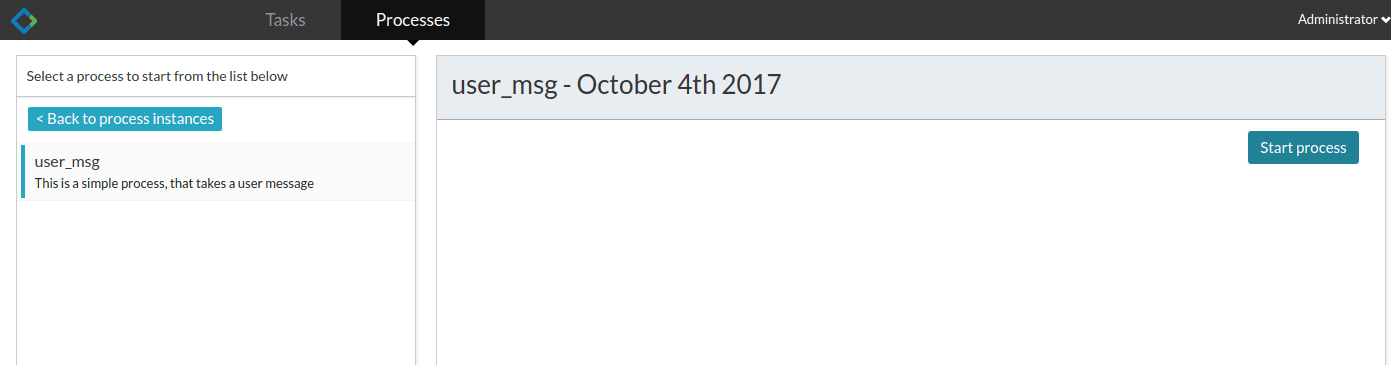
Once we click on the Start Process in Processes tab, we get the list of available processes that we can run. From this list, we’ll select our process and click on the start button:
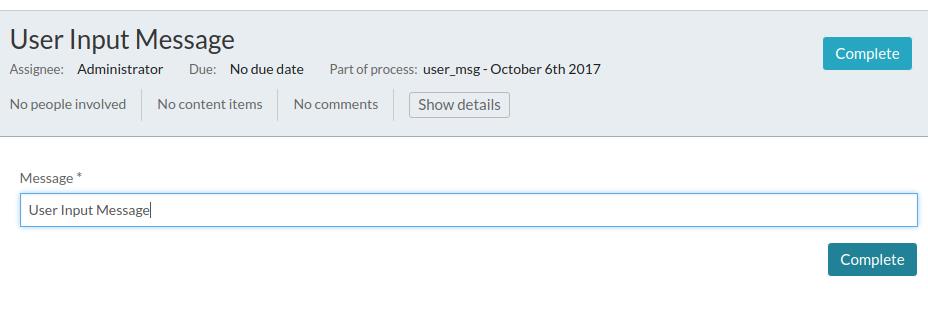
Our process contains only a single task, and it is a User Task. Hence, the process is waiting for a user to complete this task. When we click on the task that the process is waiting on, we can see the form that we created:
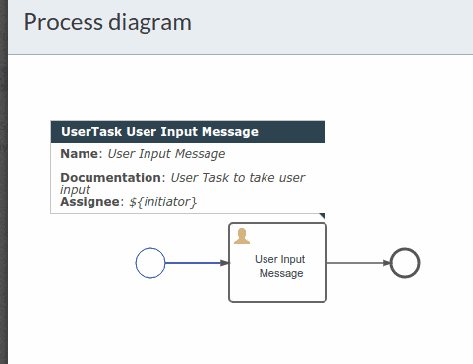
If we click on Show Diagram, it’ll not only show us the Process diagram but also highlight the tasks that are completed and the one which is pending. In our case, the User Task is still pending, which is highlighted:
To complete this task, we can click on the Complete button. As mentioned earlier we’ll need to enter the Message, as we have kept it mandatory. Hence, after entering the Message, we can Complete the task.
3.4. Identity Management App
Apart from managing a process, we’ve got an Identity Management App, that allows us to add users and groups. We can also define roles for the users.
4. Activiti REST
Activiti provides a REST API for the Activiti Engine that can be installed by deploying the activiti-rest.war file to a servlet container like Apache Tomcat.
By default, the Activiti Engine will connect to an in-memory H2 database. Just like we saw in activiti-app, here we can change the database settings in the db.properties file in the WEB-INF/classes folder and recreate the war file.
With the app up and running, we can use this base URL for all the requests:
http://localhost:8080/activiti-rest/service/By default, all REST resources require a valid Activiti user to be authenticated. Basic HTTP access authentication should be used for every REST call.
4.1. Creating and Running a Process
To create a process, first, we need the BPMN file for our process. We can either create the file as described in our previous articles based on Activiti with Java, or it can be downloaded from the Kickstart App’s Process section.
We need to make a POST request, along with the contentType: multipart/form-data, where we’ll upload the BPMN file for our new process:
POST repository/deploymentsWhen we make this call by passing the BPMN file for the process we created, it’ll give the following output:
{
    "id": "40",
    "name": "user_msg.bpmn20.xml",
    "deploymentTime": "2017-10-04T17:28:07.963+05:30",
    "category": null,
    "url": "http://localhost:8080/activiti-rest/service/repository/deployments/40",
    "tenantId": ""
}
Now, we can see our process definition listed, if we get all the process definitions:
GET repository/process-definitionsNext, we can run this process using the processKey that we have mentioned in the BPMN file:
POST /runtime/process-instances
With this request body:
{
    "processDefinitionKey":"user_msg"
}
The response will be:
{
    "id": "44",
    "url": "http://localhost:8080/activiti-rest/service/runtime/process-instances/44",
    "businessKey": null,
    "suspended": false,
    "ended": false,
    "processDefinitionId": "user_msg:1:43",
    "processDefinitionUrl": "http://localhost:8080/activiti-rest/service/repository/process-definitions/user_msg:1:43",
    "processDefinitionKey": "user_msg",
    //other details...
}
We can see the diagram of our running process using the id of the process instance returned with the previous response:
GET runtime/process-instances/44/diagram
As mentioned earlier, the process is waiting for the User Task to finish, and hence it is highlighted in the diagram:

4.2. Completing a Task
Let’s now take a look at our pending task using:
GET runtime/tasks
The response will have a list of pending tasks. Currently, there’s only one task – our User Task:
{
    "data": [
        {
            "id": "49",
            "url": "http://localhost:8080/activiti-rest/service/runtime/tasks/49",
            "owner": null,
            "assignee": "$INITIATOR",
            "delegationState": null,
            "name": "User Input Message",
            "description": "User Task to take user input",
            "createTime": "2017-10-04T17:33:07.205+05:30",
            "dueDate": null,
            // other details...
        }
}
At last, let’s complete this task using the task id 49:
POST runtime/tasks/49
This is a POST request, and we need to send the action field indicating what we want to do with the task. We can “resolve”, “complete” or “delete” a task. Also, we can pass an array of variables, required by the task to complete.
In our case, we’ve to pass a field “message”, which is the is of out User Message text field. So our request body is:
{
    "action": "complete",
     "variables": [{
         "name": "message",
         "value": "This is a User Input Message"
     }]
}
5. Conclusion
In this article, we discussed how we could use the Activiti Kickstart App and the provided REST API.
More information about activiti-rest can be found in the User Guide, and activiti-app details can be found in the documentation by Alfresco.


